Replacing windows seems simple at first glance – pick a model, order the right size and install it. Yet most homeowners are caught off guard when the installation quote costs more than the window itself. It feels backward until you realize what that price actually covers. The product is just the beginning – the real cost of window installation lies in the precision, the skill and the materials that make it perform the way it should.
Think about it – windows must keep out water, air and noise – all while fitting perfectly into an opening that may not be square, level, or even dry. A good installer doesn’t just “place” the window; they correct years of settling, seal every joint and test every hinge for smooth operation. That’s not a side task – it’s structural work that directly affects the long-term cost of window installation. And yes, it’s worth every dollar.
Let’s break down what drives the cost of window installation and why cutting corners almost always backfires.
The Real Price Behind That “Simple” Window Replacement
Most people look at a $400 window and expect the same number on the installation line. But the quote covers more than the labor of placing it in the wall – it includes preparation, removal, adjustment, sealing and finishing. Each step demands precision, tools and time that rarely show up in the product brochure.
A single window can take three to five hours to install properly, especially in older homes where walls aren’t straight or frames have absorbed decades of movement. Add a few layers of insulation and paint and suddenly, that “simple” swap becomes a mini renovation. Professionals anticipate that – they know a wall isn’t always as ready as it looks.
And here’s the part homeowners often miss – professional installation doesn’t just keep the cold out. It preserves your wall’s structural integrity. A poorly sealed window can lead to moisture seeping into studs and drywall, creating issues that show up months later – long after the invoice is paid. When you pay for installation, you’re paying for someone who sees those problems before they happen. That’s the difference between a clean finish and a costly do-over.
Why the Window Itself Is Just the Beginning
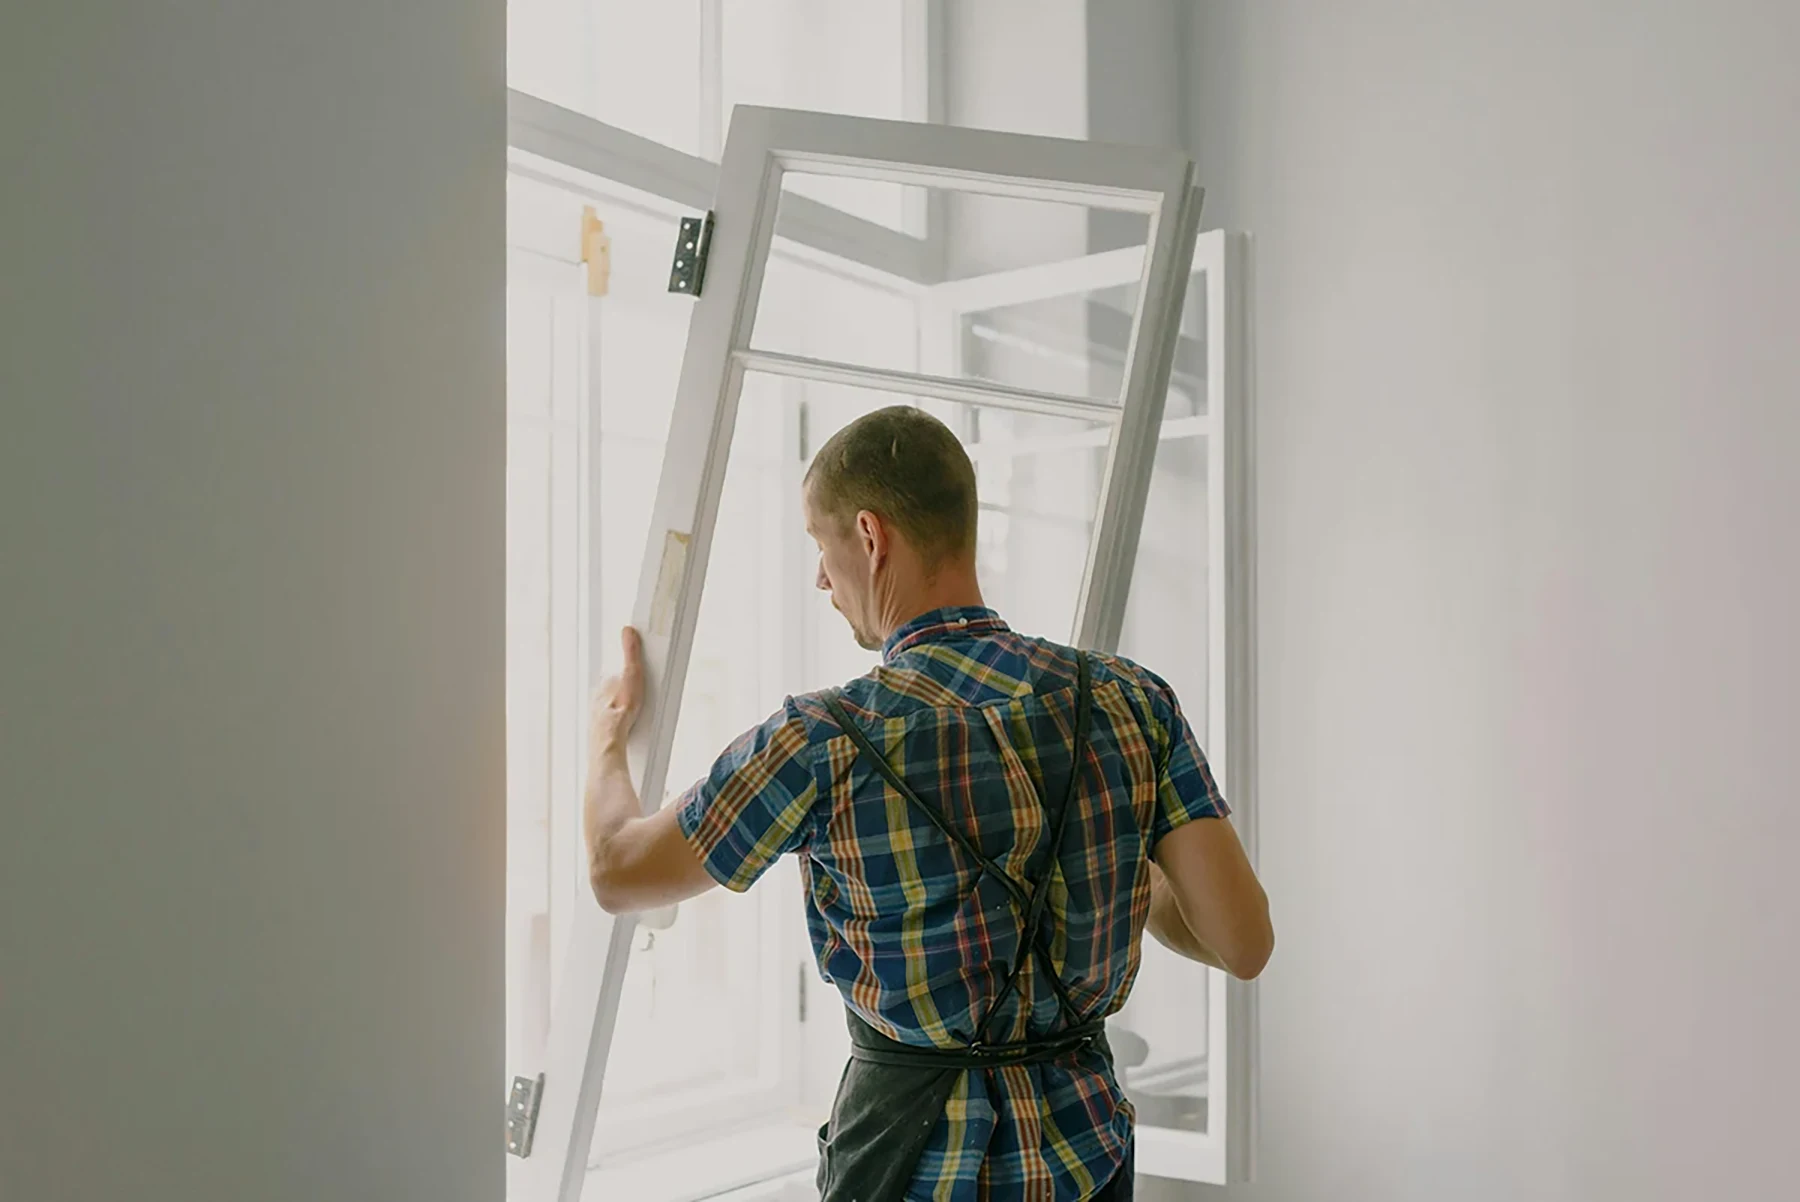
Buying a high-quality window is like buying a musical instrument. It only performs when it’s tuned – and that’s what installation does. The installer checks the frame alignment, measures diagonals, adjusts shims and ensures even compression along the seals. One small misalignment can throw off how the sash closes or how well the thermal seal works.
We’ve seen jobs where windows were installed just a few millimeters off-level. The result? Stuck locks, warped vinyl and cold air sneaking in where foam should’ve been. Fixing that later costs far more than doing it right the first time. So when you see that line item for “installation,” think of it as insurance. It’s what keeps your new windows performing like they should – for decades, not just seasons.
Labour, Tools and Precision – Where the Hours Really Go
Every step of installation demands attention to detail. Removing the old unit without damaging the siding. Levelling the sill so water drains properly. Setting anchors that hold firm without bending the frame. That’s not a one-size-fits-all process – every house tells its own story.
Installers use specialized tools: laser levels to align the jambs, oscillating saws to clean the opening, foam guns with controlled expansion to avoid bowing the frame. None of that is guesswork. It’s careful, practiced technique built over years of experience. And when the final bead of sealant goes on, the difference shows – quiet operation, smooth closure, no air leaks. That’s what you’re paying for – precision, not just labor.
The Hidden Costs That Make or Break a Window Installation
Some of the most important parts of window installation are things you never see. Flashing, insulation and trim don’t grab attention, yet they define how long your investment lasts. They’re small details that separate a professional finish from a future headache.
Material quality matters here more than people realize. High-grade flashing membranes cost more but hold their seal for decades, while cheaper foam breaks down and shrinks in a few seasons. Trim materials vary too – wood looks beautiful, but PVC stands up better to humidity. These choices may add 5–10% to the project cost but easily double its lifespan.
What you’re paying for in these “hidden” tasks is not cosmetic; it’s the system that keeps your envelope dry, airtight and structurally sound. Skipping or downgrading any of them might not show up immediately, but it will show up eventually – usually during the first major rainstorm. Good installers price for longevity, not shortcuts.
Flashing – The Unsung Hero of Leak Prevention
Flashing sits quietly beneath the surface, channeling water away before it can touch the wall. Skip it and you’ve built a funnel straight into your insulation. It’s usually made from aluminum or waterproof membranes, cut and layered with precision. Each piece overlaps the next, ensuring water runs off instead of in. A proper flashing install takes patience – and adds cost. But it also prevents rot, mold and paint damage. It’s not an “extra.” It’s a shield your walls depend on.
Trim and Finishing Work
Trim makes a window look finished, but it’s more than decoration. It seals the joint between the frame and wall, protects the edges and covers any imperfections from the old opening. Inside, it ties the design together. Outside, it adds weather resistance and curb appeal. Here’s the secret – trim work can easily double the installation time. Cutting miters, matching paint, adjusting for uneven drywall – that’s finesse work. It’s what turns a raw opening into a polished, watertight frame.
Insulation and Weather Sealing – The Invisible Comfort Layer
What keeps your home warm in January or cool in July isn’t the glass – it’s the seal around it. The foam, tape and caulking form a barrier that locks comfort in and drafts out. Professionals use low-expansion polyurethane foam designed for windows. Cheaper general-purpose foams expand too much and warp the frame as they cure. That’s why a DIY job might start fine but end with warped casings or squeaky hinges. Done correctly, insulation reduces energy loss, noise and condensation. It’s quiet work – and essential work.
When Modifications Drive the Price Up
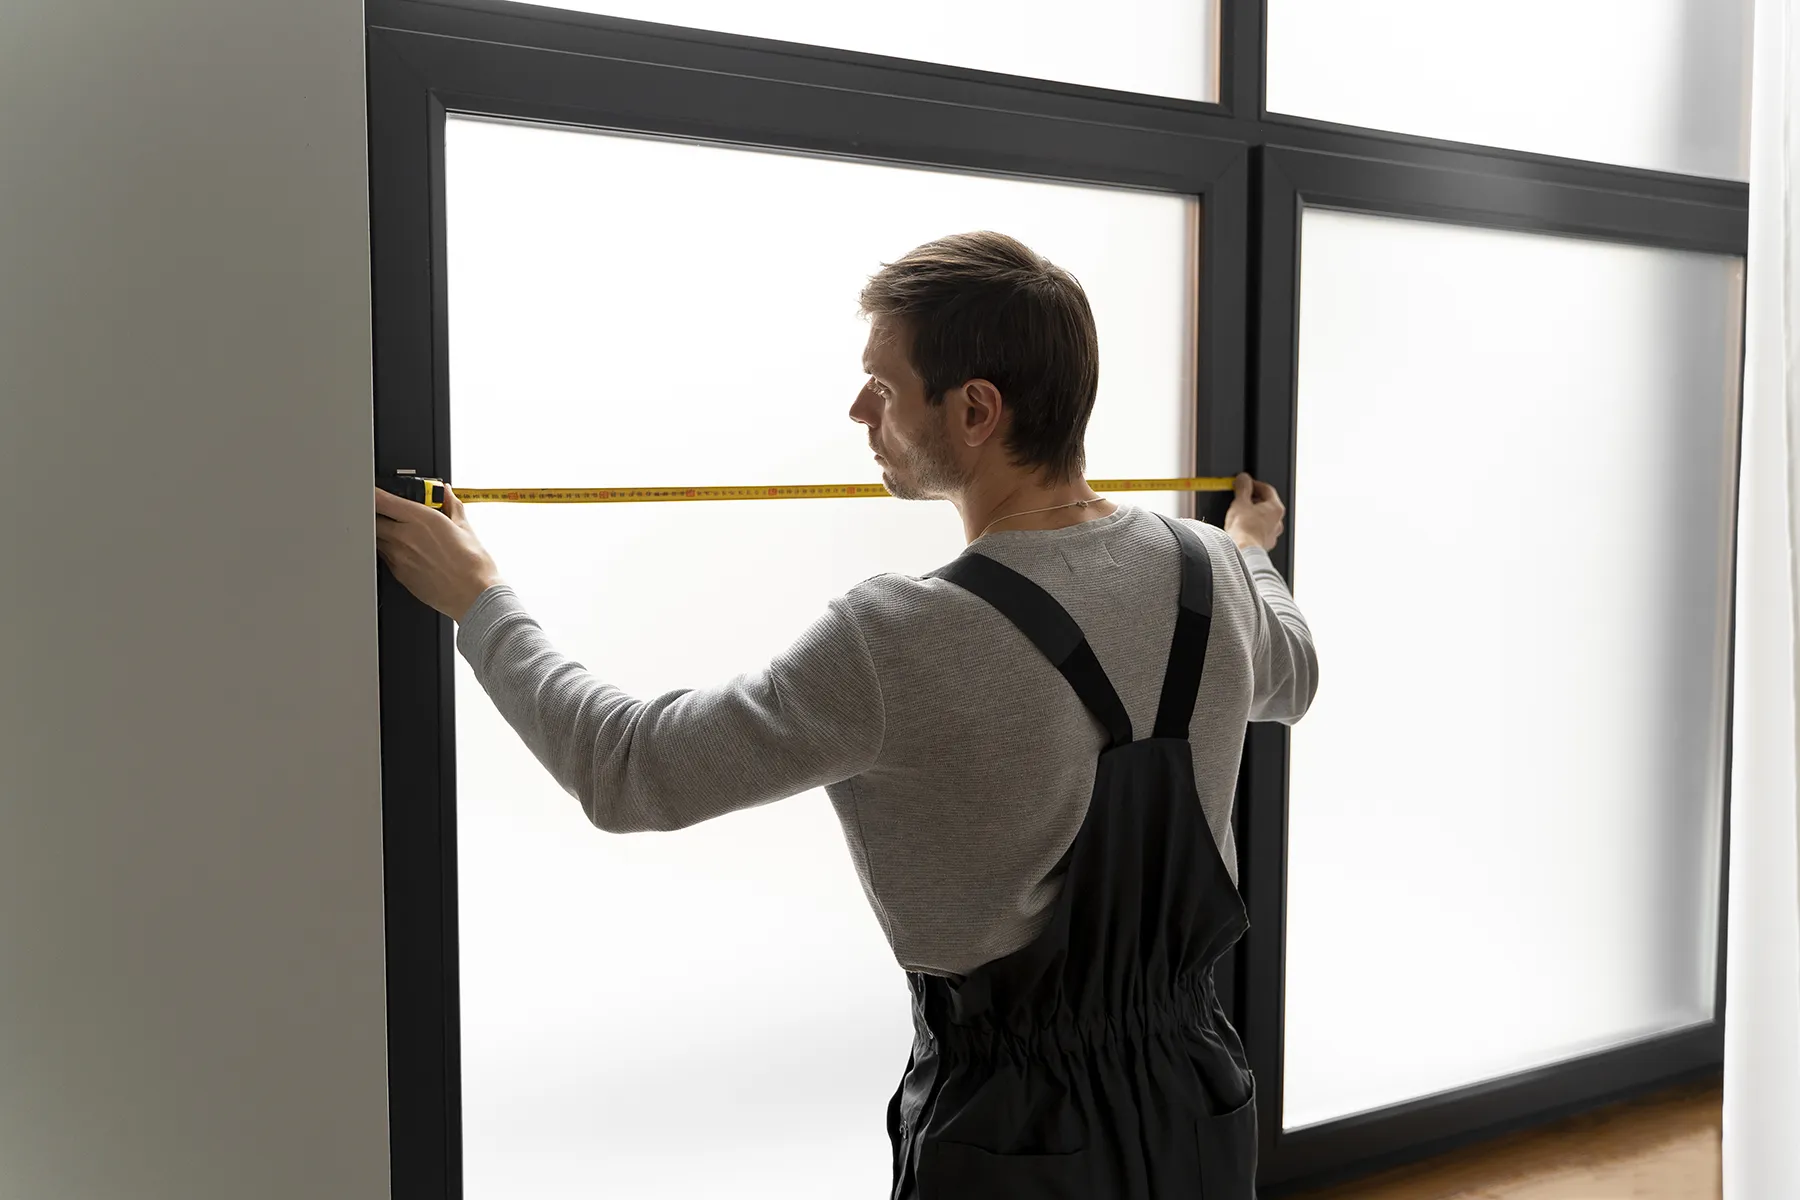
Not every replacement fits into the old opening. Maybe you’re switching from sliders to casements or adding ventilation to a basement. The more you alter the structure, the higher the cost climbs – not because of markups, but because every adjustment adds risk and engineering complexity. Even a one-inch change in frame size can affect how weight transfers through the wall. That means more than cutting drywall – it may require reframing, new sheathing or adjusting exterior siding. These are time-consuming, dusty steps that demand skill and the right tools.
There’s also finish coordination to consider. When you resize a window, trim lines and exterior cladding no longer align perfectly. Matching those finishes afterward adds extra materials, color matching and detailing that quickly stack up in labor hours. So yes, structural modification raises the quote, but it also raises the precision bar. Done right, it looks seamless; done fast, it looks like a patch job.
Altering Window Height vs. Width
Here’s something even pros discuss on-site – it’s easier to change the height of a window than its width. Height adjustments usually involve trimming above or below the sill, which doesn’t affect load-bearing studs. Width changes, however, cut directly into structural framing. That demands a new header or reinforced beam – work that’s slow, meticulous and not optional. So if you’re dreaming of panoramic glass, prepare for extra carpentry. The wider you go, the more structure needs rethinking.
Structural Adjustments and Permit Work
When you alter framing, you’re also stepping into code territory. Most regions require building permits for changes to load-bearing walls, plus drawings from a structural engineer. That means more professionals, more coordination and yes – more cost. It’s not bureaucracy for the sake of it. Those approvals ensure your home remains safe under load. A slightly wider opening might seem harmless, but it can redistribute stress across your wall. Done incorrectly, that stress causes cracks or sagging headers over time. So while the paperwork feels like a hassle, it’s really a form of protection – for you and your home.
Why “Cheaper” Installation Ends Up Costing More
We’ve seen it time and again: homeowners choose the lowest quote, only to call our team later to fix someone else’s work. The windows often look fine on day one, but behind the trim, the shortcuts start to show – missing flashing, uneven foam, or thin caulking. It doesn’t take much for water to find a path in and once it does, the damage spreads quickly.
Cheaper installations often rely on general contractors rather than window specialists. They move faster, skip calibration and assume the wall is “close enough.” Maybe it is – until winter hits and condensation appears inside the panes. Then that small price gap doesn’t feel like a bargain anymore.
Poor sealing also affects energy bills. A single drafty opening can leak as much heat as leaving a vent open all year. That translates into dozens of dollars every month and hundreds over time. Saving $150 on installation can easily cost $1,000 in heating losses within two winters. It’s rarely worth it. Paying for proper materials and a qualified crew the first time is the cheapest path long-term. The irony? Those savings disappear fast when drywall bubbles or frames swell.
The Domino Effect of a Poor Seal
Here’s a real example. A client had a new set of vinyl windows installed by a handyman. No flashing, minimal foam and a single line of interior caulking. It looked neat. Within two winters, water had crept behind the trim, and black mold formed along the sill. Repairing it meant stripping the wall, replacing insulation and starting over. That’s a $1,200 fix for a $300 shortcut. A bad seal isn’t just ugly – it’s expensive.
Warranty and Liability Considerations
Most window manufacturers require certified installation to maintain warranty coverage. Skip that and the moment something fogs or cracks, you’re on your own. And it’s not just fine print. CSA A440 standards specify performance levels for air, water and structural resistance. If your installer cuts corners, the manufacturer can void the warranty outright. Paying a professional protects more than your home – it protects your investment paperwork too.
How to Read a Window Installation Quote Like a Pro
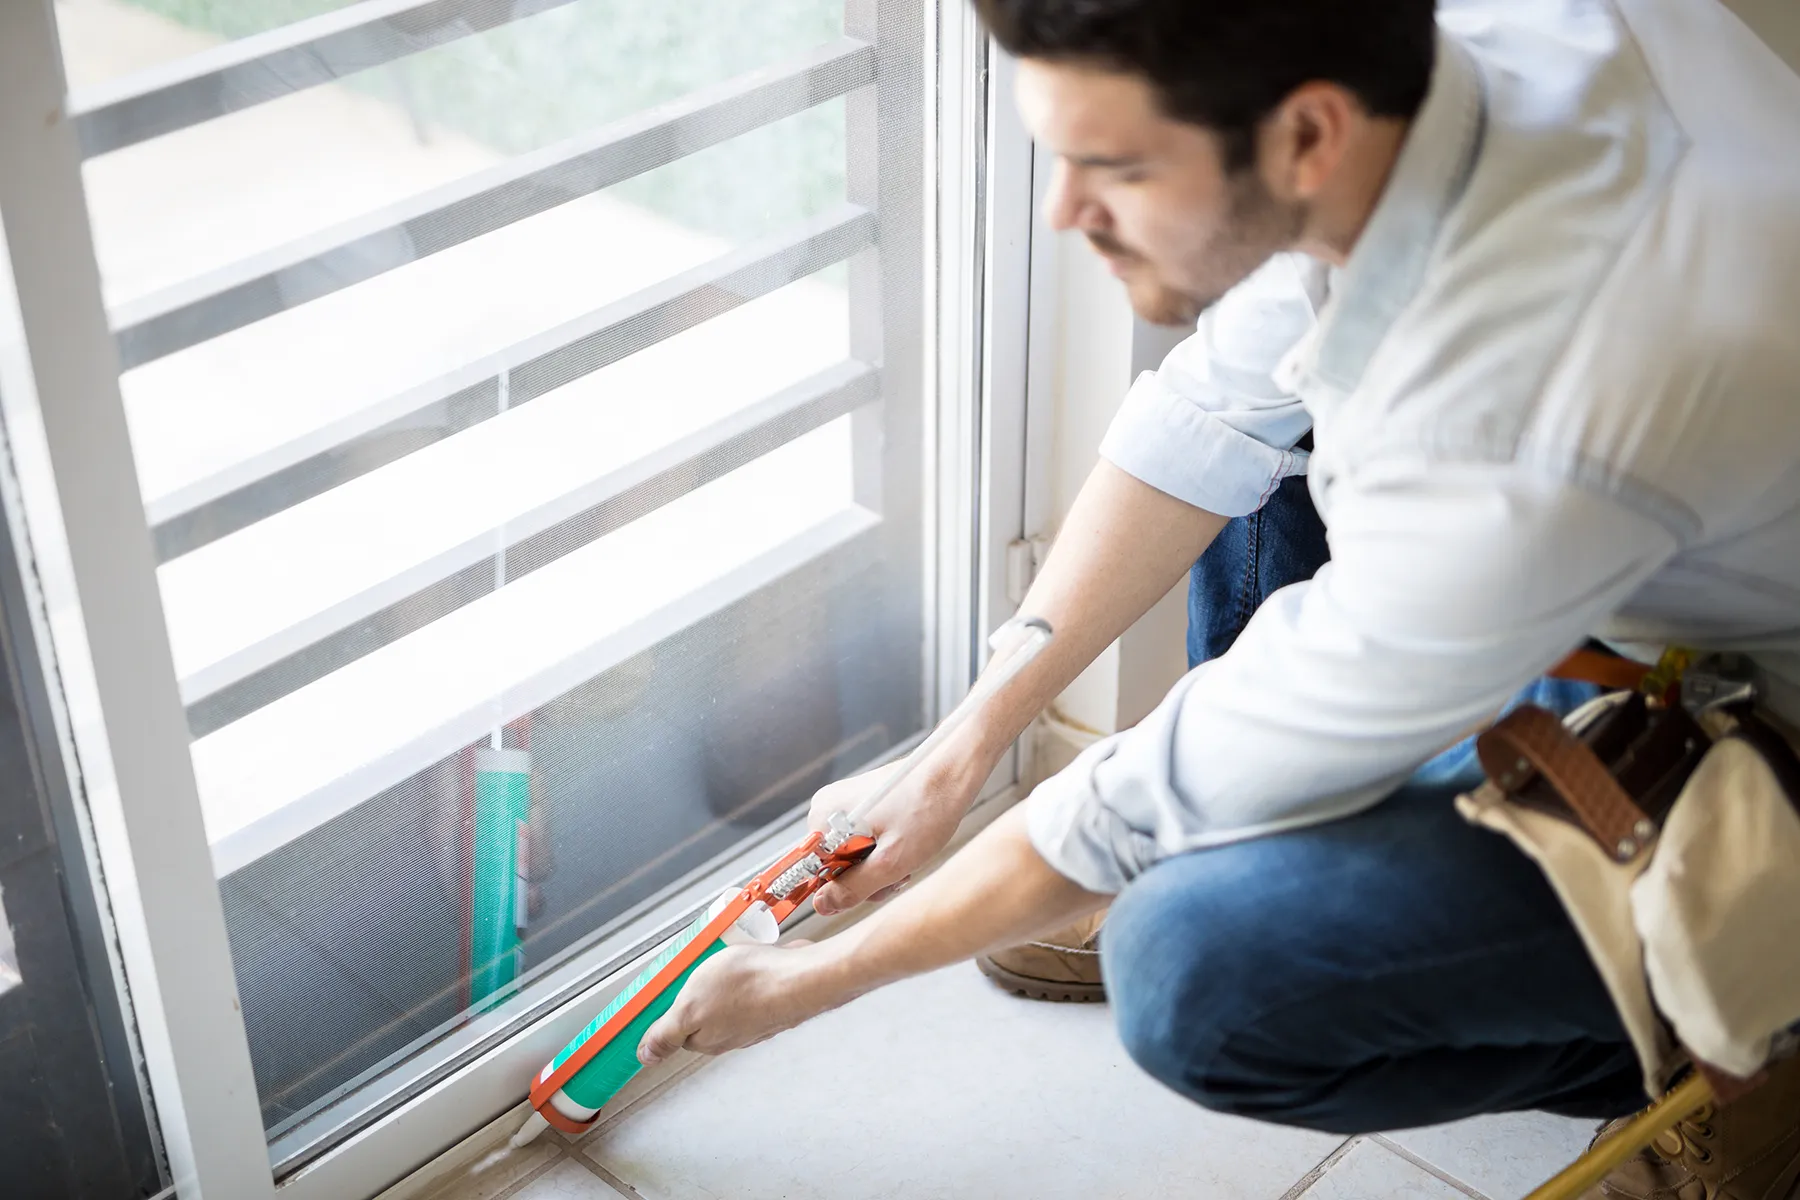
A detailed quote isn’t just about numbers – it’s a roadmap of what’s included. Too many homeowners compare totals without comparing scope. One installer includes insulation and trim; another doesn’t. On paper, one looks cheaper. In reality, you’ll pay for the “missing” work later. Understanding your quote means understanding sequence. Removal, preparation, insulation and finishing – each is a phase that protects the next. If a quote skips one, it’s either assumed (and billed later) or simply ignored. Neither is good news.
Look for clarity in materials and warranty. If a company specifies branded foam, corrosion-resistant flashing and a multi-year labor guarantee, it’s a sign of professionalism. If they only promise “basic sealant” and “standard trim,” ask what that actually means. Transparency in quotes often reflects transparency in workmanship. A good rule of thumb – when two quotes differ, ask each installer to explain their process line by line. The one who can walk you through it without hesitation is usually the one worth hiring.
Line Items That Should Always Be Included
A complete quote usually covers:
- Removal and disposal of old windows.
- Preparation and leveling of openings.
- Flashing, insulation and weather sealing.
- Interior and exterior trim.
- Final cleanup and inspection.
If any of those items are missing, clarify before signing. Honest installers welcome transparency – it shows professionalism.
Questions to Ask Before Approving the Quote
Not sure what to look for? Start here:
- What sealants or insulation materials are included?
- Does your quote include interior finishing?
- What’s your workmanship warranty period?
- Will you inspect and correct out-of-square frames?
A solid professional will answer confidently, not defensively. And if they hesitate – that’s your cue to keep looking.

The Bottom Line – Pay for the Skill, Not Just the Product
Windows are more than glass and frames – they’re precision-engineered openings that rely on expert installation to perform. You can buy the best unit on the market, but if it’s misaligned, unsealed or poorly flashed, it won’t live up to its rating. A window’s efficiency, soundproofing and durability depend on millimeters and materials you’ll never see once the trim goes up. That’s why the cost isn’t just fair – it’s justified. The installer isn’t charging for time; they’re charging for reliability. A perfect window, poorly installed, is like a sports car with loose tires. It looks beautiful until you try to drive it.
Ready to Upgrade Your Windows the Right Way?
If you’re planning new windows, don’t let sticker shock steer you toward shortcuts. Quality installation is what makes that investment truly last – keeping your home quieter, warmer and better protected from the elements. At Renossance, our specialists take the time to explain every detail of your quote, outline where the costs come from and ensure your windows are installed with precision from start to finish.
Talk to the Renossance team today – and upgrade your home with craftsmanship that stands the test of time.

