Most homeowners think about framing the way they think about a foundation — necessary, invisible and someone else’s problem. You hire a contractor, the framing goes up and then everything else covers it. What happens inside those walls stays there.
That thinking makes sense until something goes wrong. A floor that bounces under your feet. A wall that won’t take tile without cracking. A basement ceiling that sags six months after the renovation. In every one of those cases, the problem started during framing — and the fix, once everything is covered up, is dramatically more expensive than it would have been at the build stage.
We’ve opened up enough walls to know what proper framing looks like and what cut-corner framing looks like. The difference isn’t always obvious from the outside.
What Framing Actually Does
Framing is the structural skeleton of a building. It carries the loads — the weight of the roof, the floors above, the walls themselves — and transfers them down to the foundation. It also defines the layout: where the walls are, where the openings are, how the space is divided.
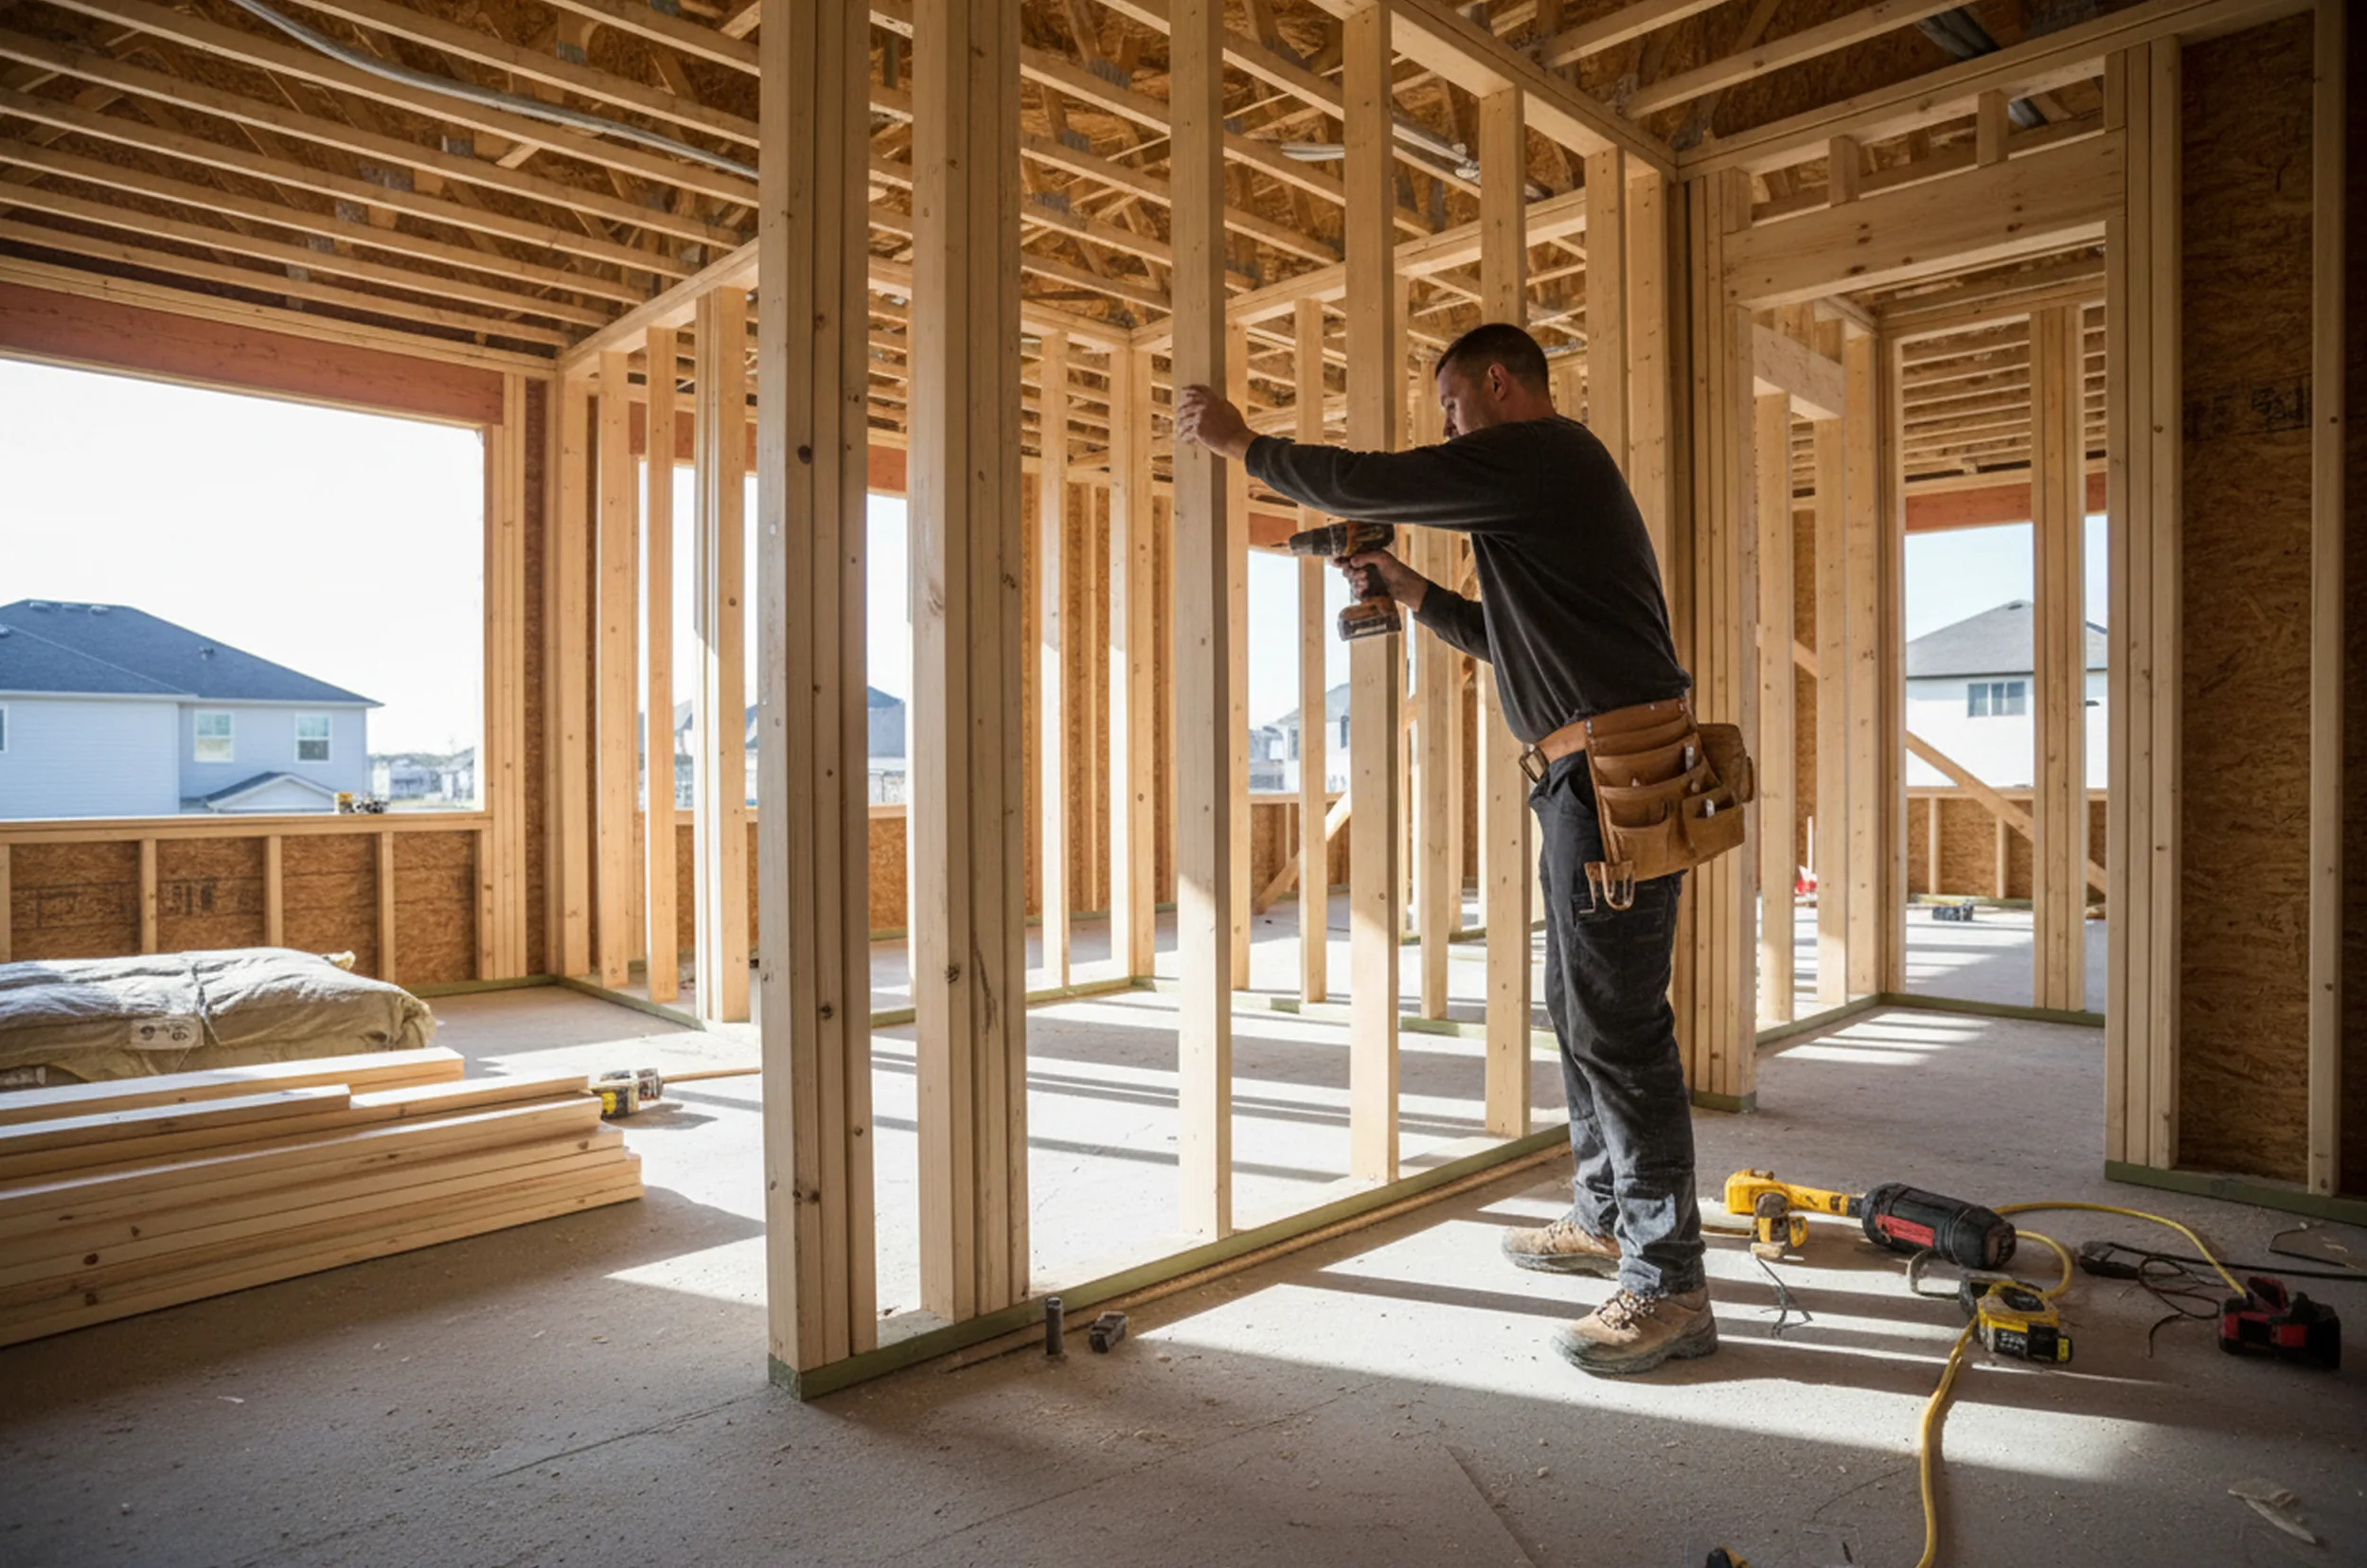
In wood-frame construction, which is standard for residential homes across Ontario, the framing consists of vertical studs, horizontal plates at the top and bottom, headers over openings like doors and windows and floor and ceiling joists that span between bearing walls. Each of these elements has a specific purpose and a correct way to be installed. When they’re done right, the structure is solid, predictable and easy to build on. When they’re not, problems accumulate over time.
Framing isn’t just about holding the building up. It also determines how straight your walls are, how level your floors sit and whether things like tile, drywall and cabinetry can be installed cleanly. A well-framed wall gives you a flat, plumb surface to work from. A poorly framed wall gives you a problem that every subsequent trade has to work around — or hide.
New Builds vs. Renovation Framing – Different Challenges
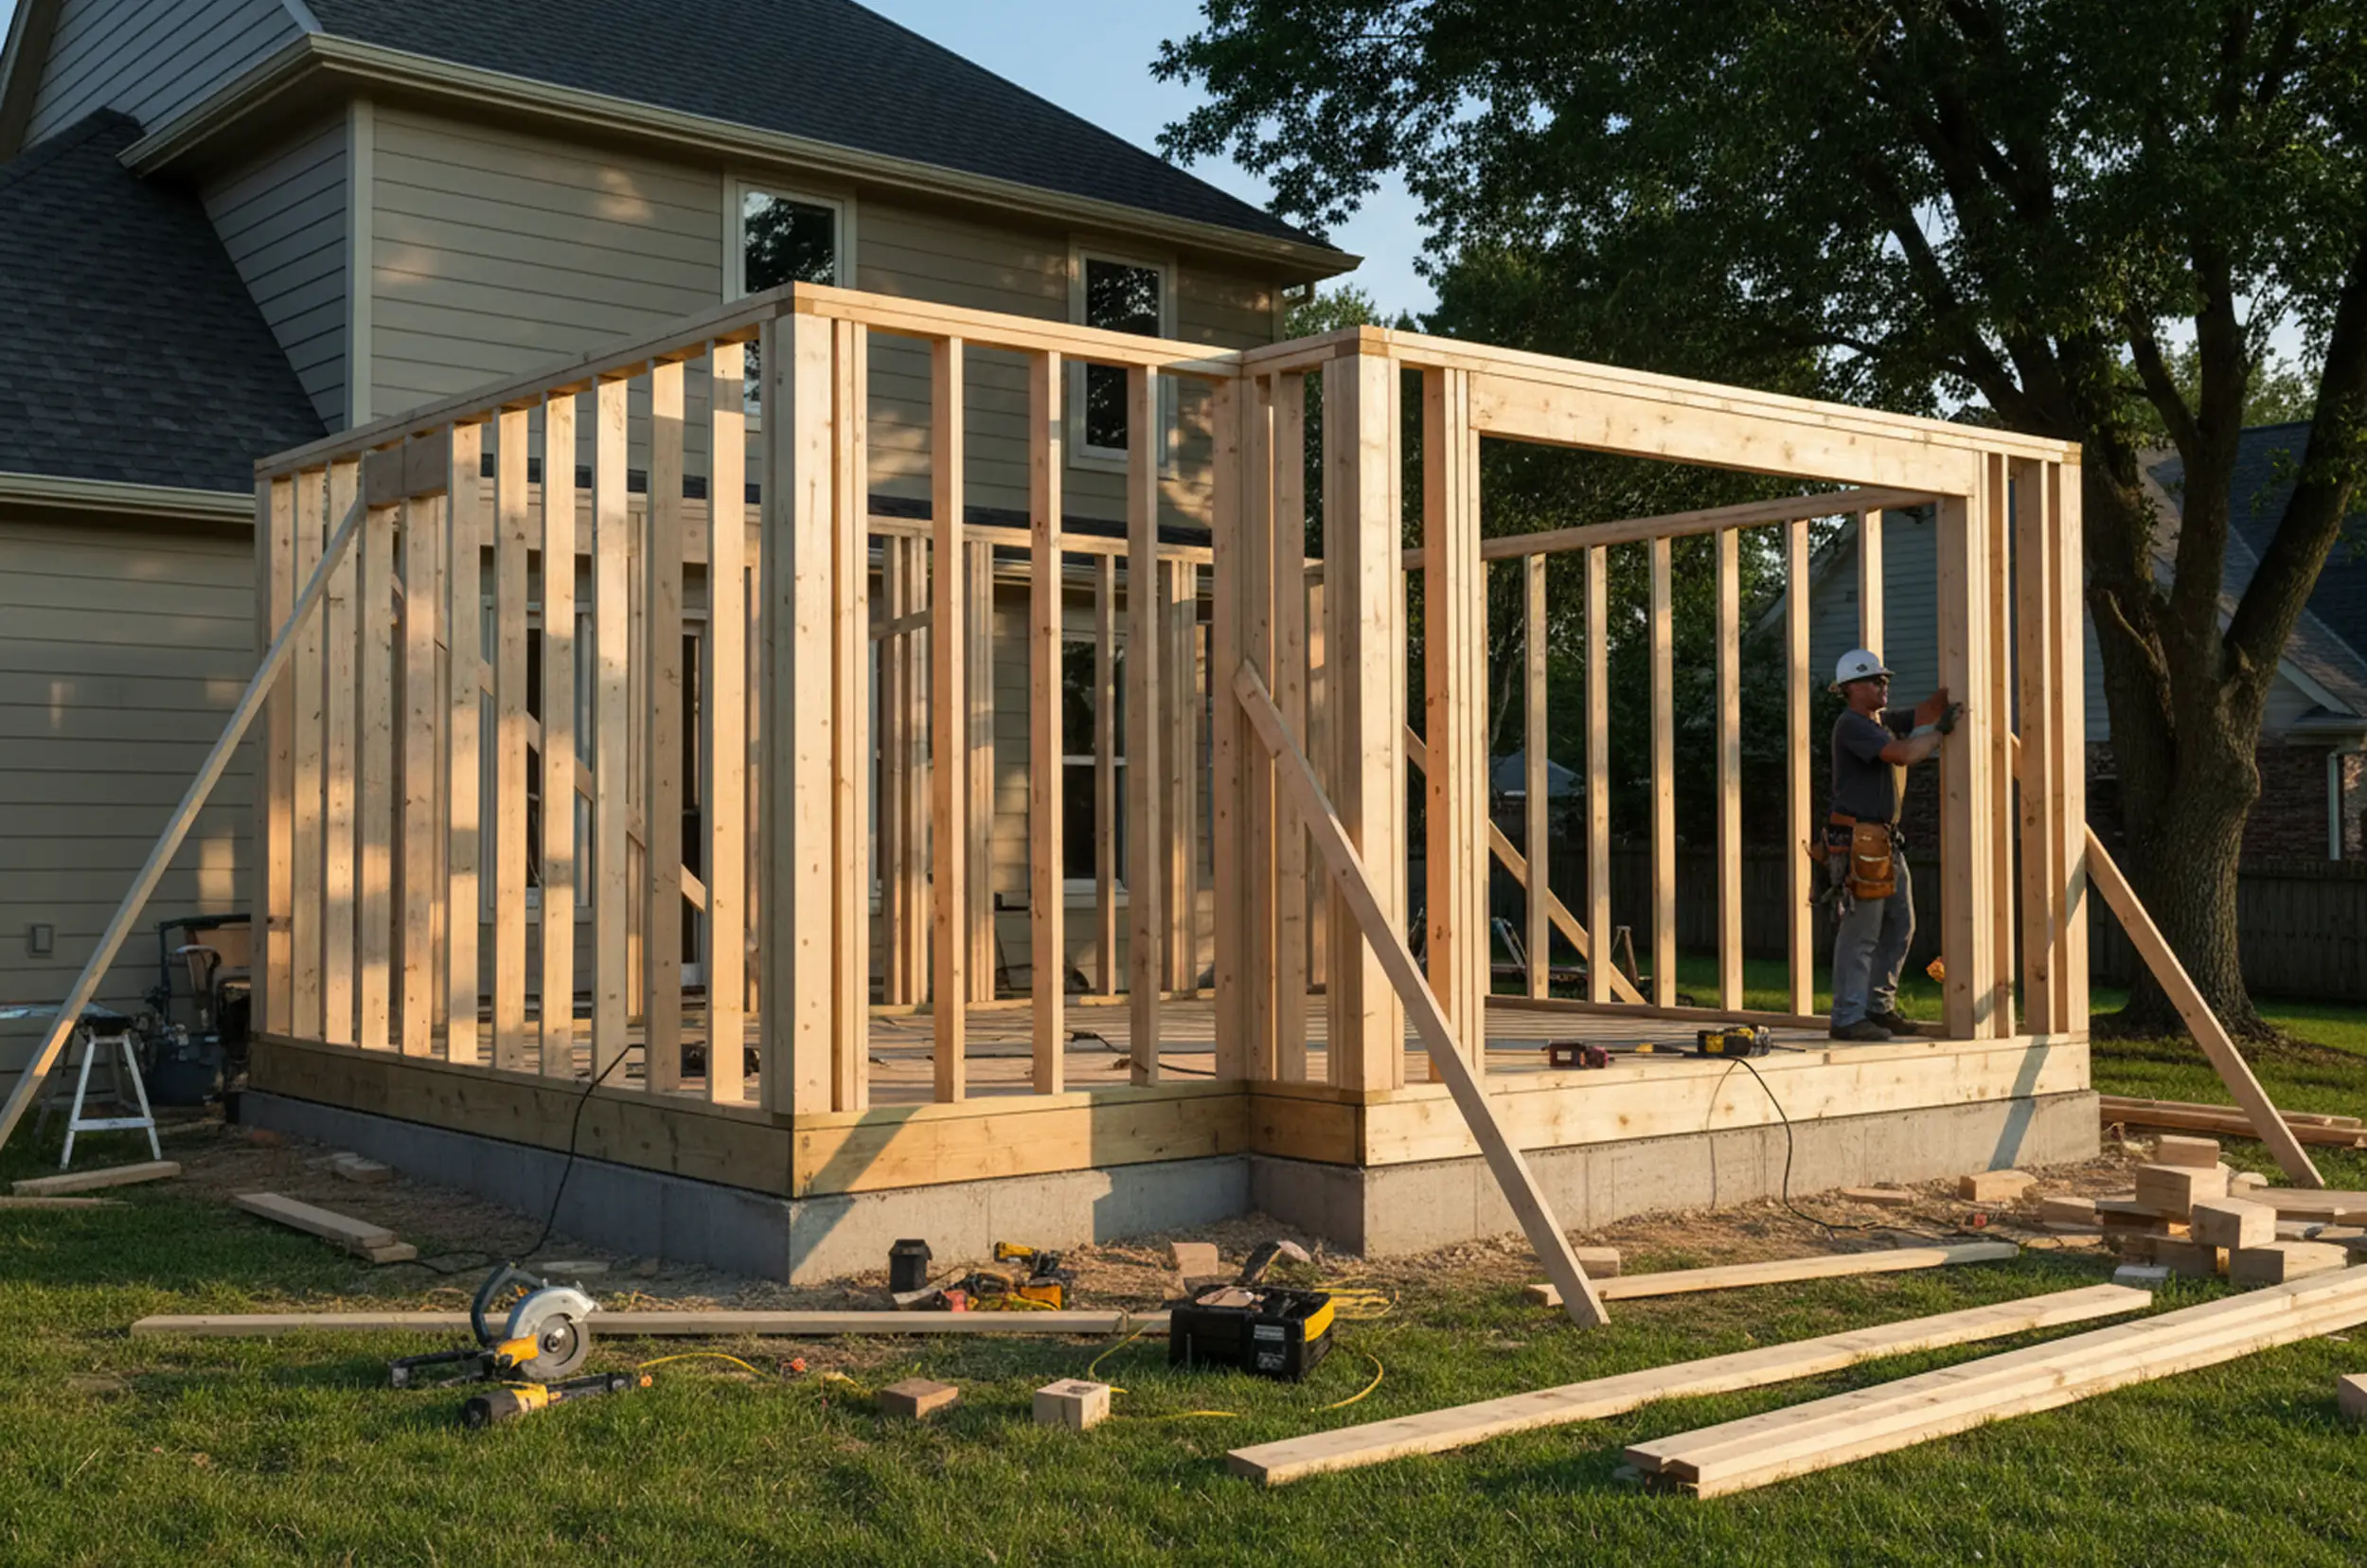
Framing a new structure from scratch and framing a renovation inside an existing home are two different jobs, and it’s worth understanding the difference before you start planning.
In a new build, framing happens on a cleared site with predictable conditions. Lumber is consistent, everything goes up in sequence and there are no surprises hidden behind existing walls. The main variables are design complexity, lumber quality and the experience of the crew installing it.
Renovation framing is harder. You’re working inside an existing structure that may have been built decades ago, modified by previous owners and is almost certainly not perfectly level or square. Existing joists may be notched, drilled or damaged. Walls that look load-bearing sometimes aren’t — and walls that look like they’re not sometimes are. We’ve opened up walls in Campbellford homes from the 1960s and 1970s and found framing configurations that made no sense until we understood the original build sequence. Reading an old structure takes experience.
Common Renovation Framing Scenarios We Handle
- Basement development: framing stud walls against concrete, building soffits around mechanicals, creating partition walls for bedrooms and bathrooms
- Kitchen and bathroom renovations: removing or relocating walls, building new openings, reframing around plumbing and electrical rough-ins
- Additions: tying new framing into existing structure, maintaining continuous load paths from roof to foundation
- Garage conversions: reframing exterior walls for insulation, adding interior partitions
Each of these has its own set of considerations. None of them is a job where improvisation is a good strategy.
Load-Bearing Walls – What You Can and Can’t Remove
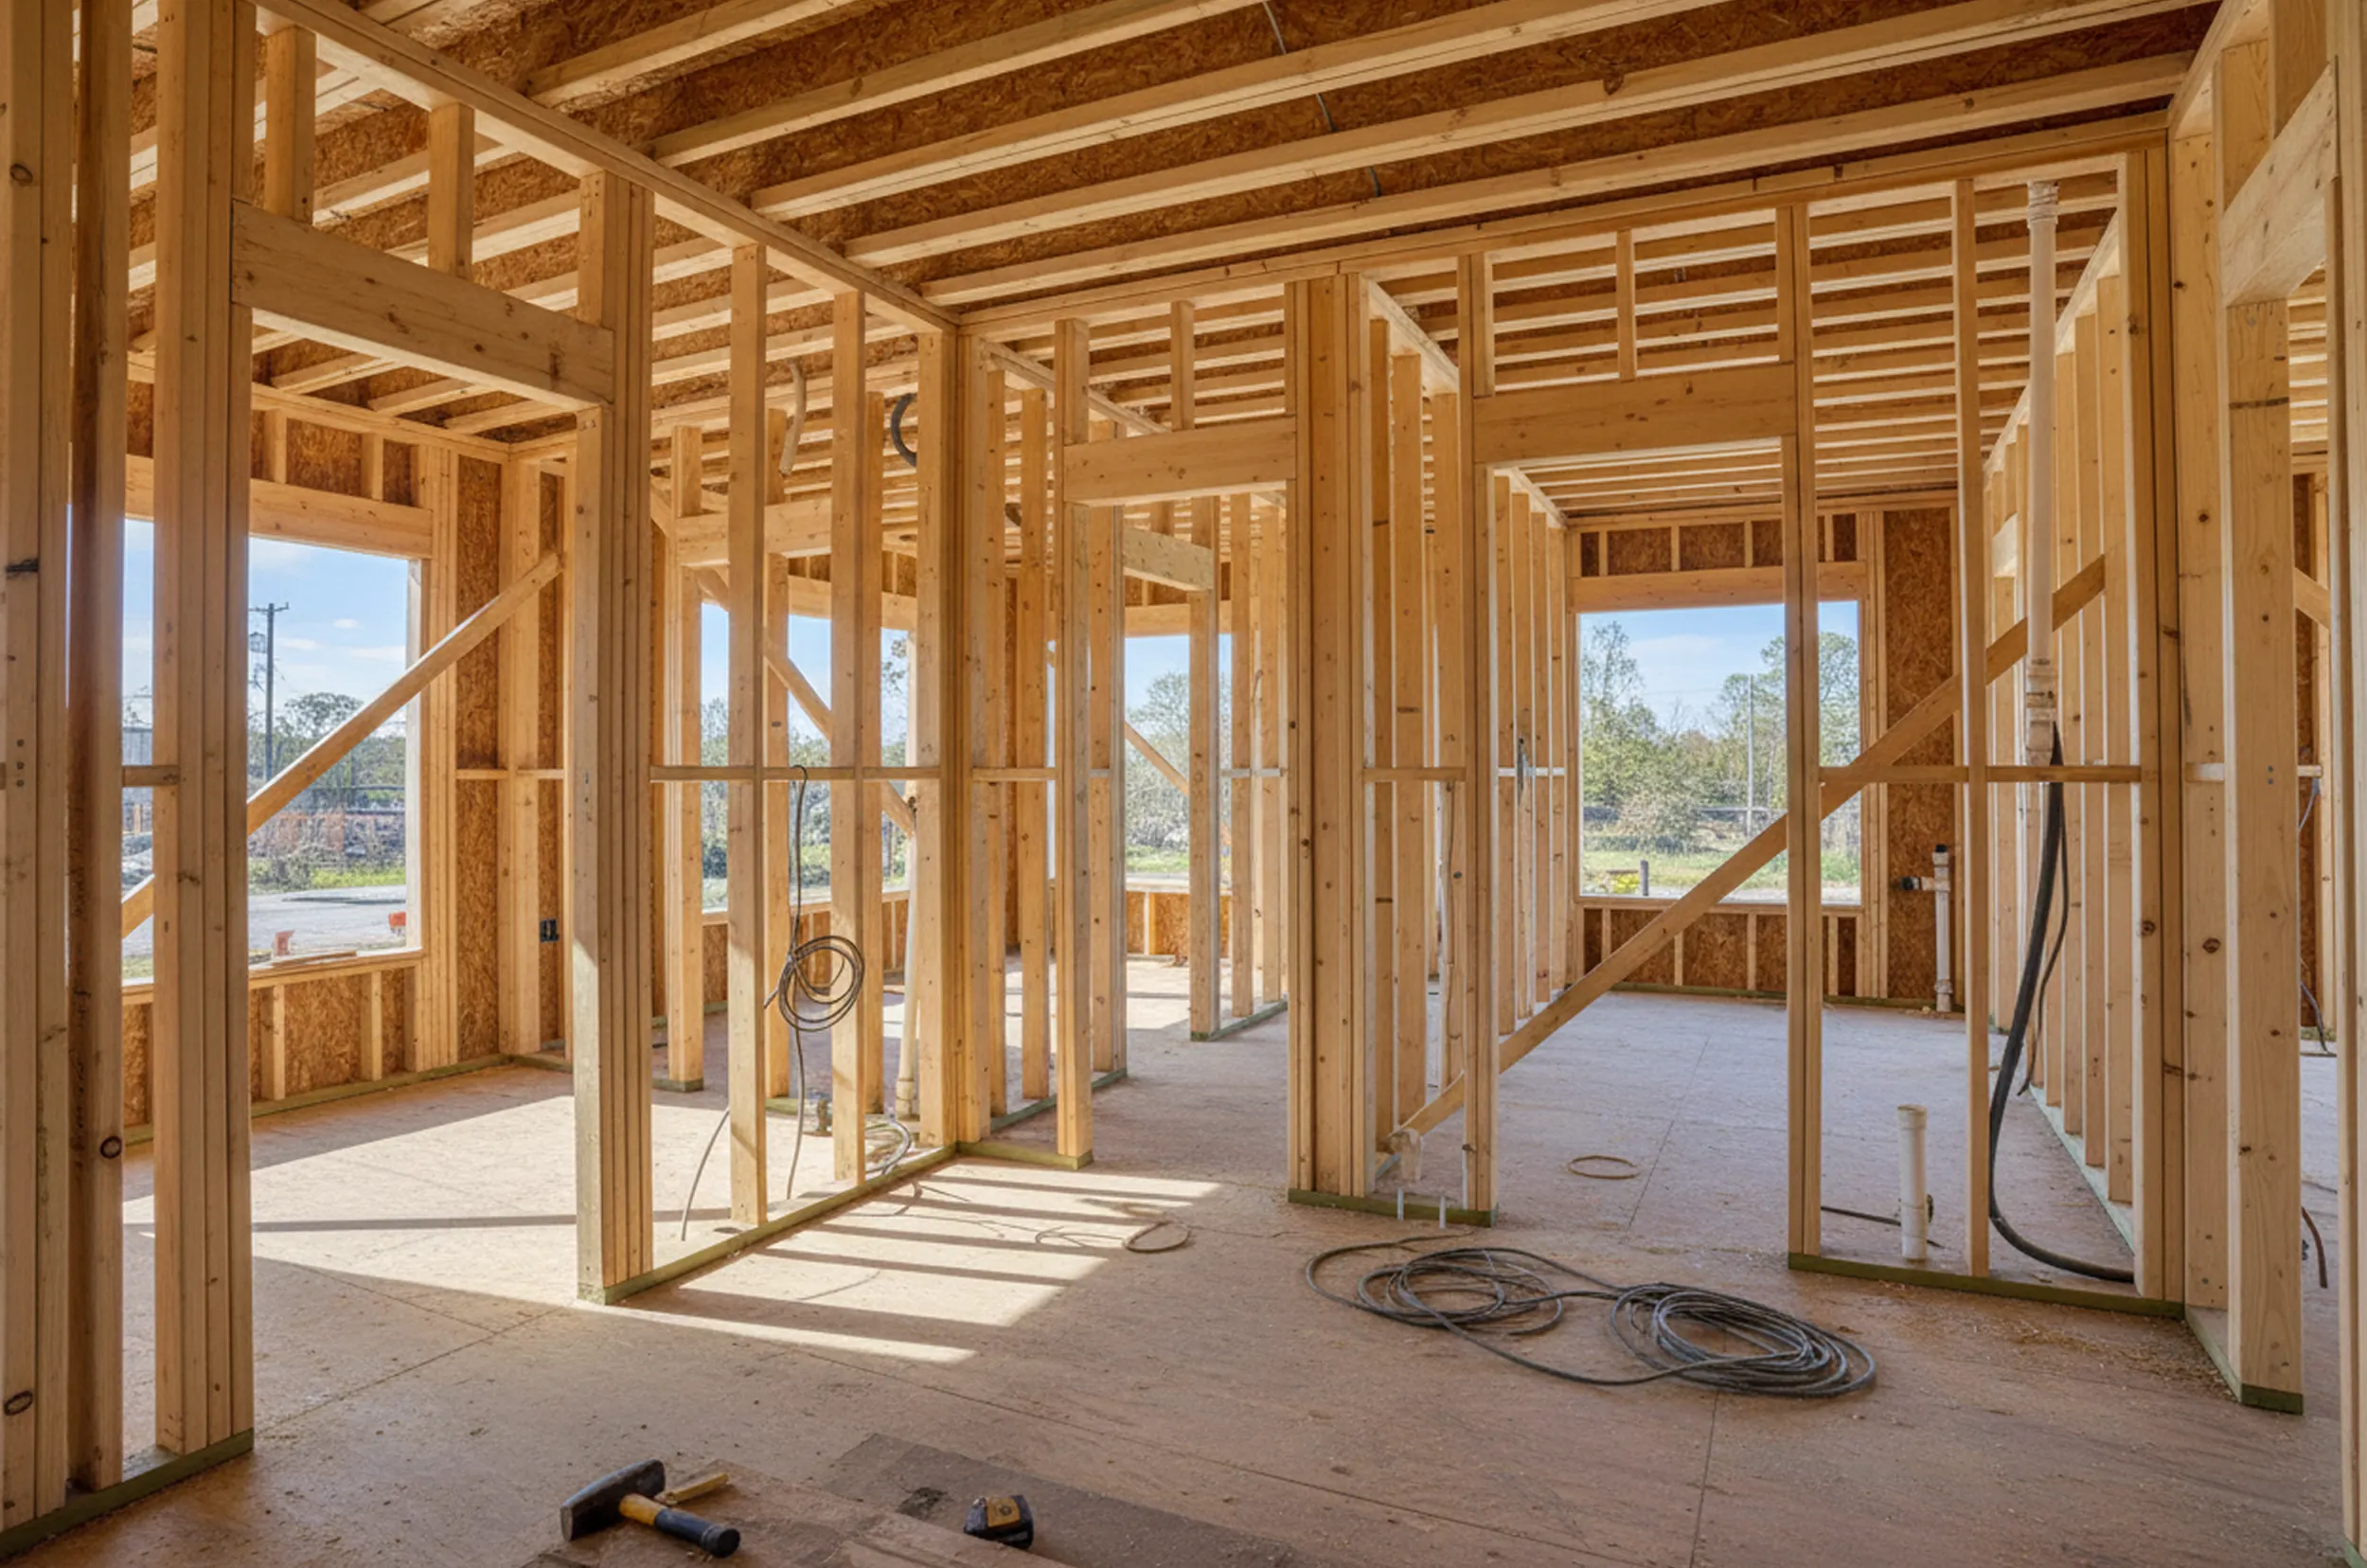
One of the most common questions we get before a renovation is some version of “can we take this wall out?” Open-concept living is popular, and walls feel like the obvious obstacle. Sometimes they are. Sometimes they’re holding up the floor above.
A load-bearing wall carries structural weight from above and transfers it to the foundation. Removing one without proper engineering support doesn’t just create a sagging ceiling — it can compromise the structural integrity of the entire floor system. We’ve seen DIY renovations where a load-bearing wall was removed and replaced with nothing. The floor above began to sag within months.
The correct approach is to have a beam installed that carries the load the wall was carrying, with posts or columns to transfer that load down to the foundation. The beam size, post sizing and connection details depend on the span and the load — which is why this work should involve either a structural engineer or a contractor with experience doing load calculations.
How To Tell If A Wall Might Be Load-Bearing
- It runs perpendicular to the floor joists above
- It sits directly above a wall, beam or post on the floor below
- It’s located near the centre of the house rather than at the perimeter
- It has posts or columns in the basement directly below it
These are indicators, not guarantees. The only way to confirm is to trace the load path through the structure — something we do before any wall comes down.
Lumber Quality and What It Affects
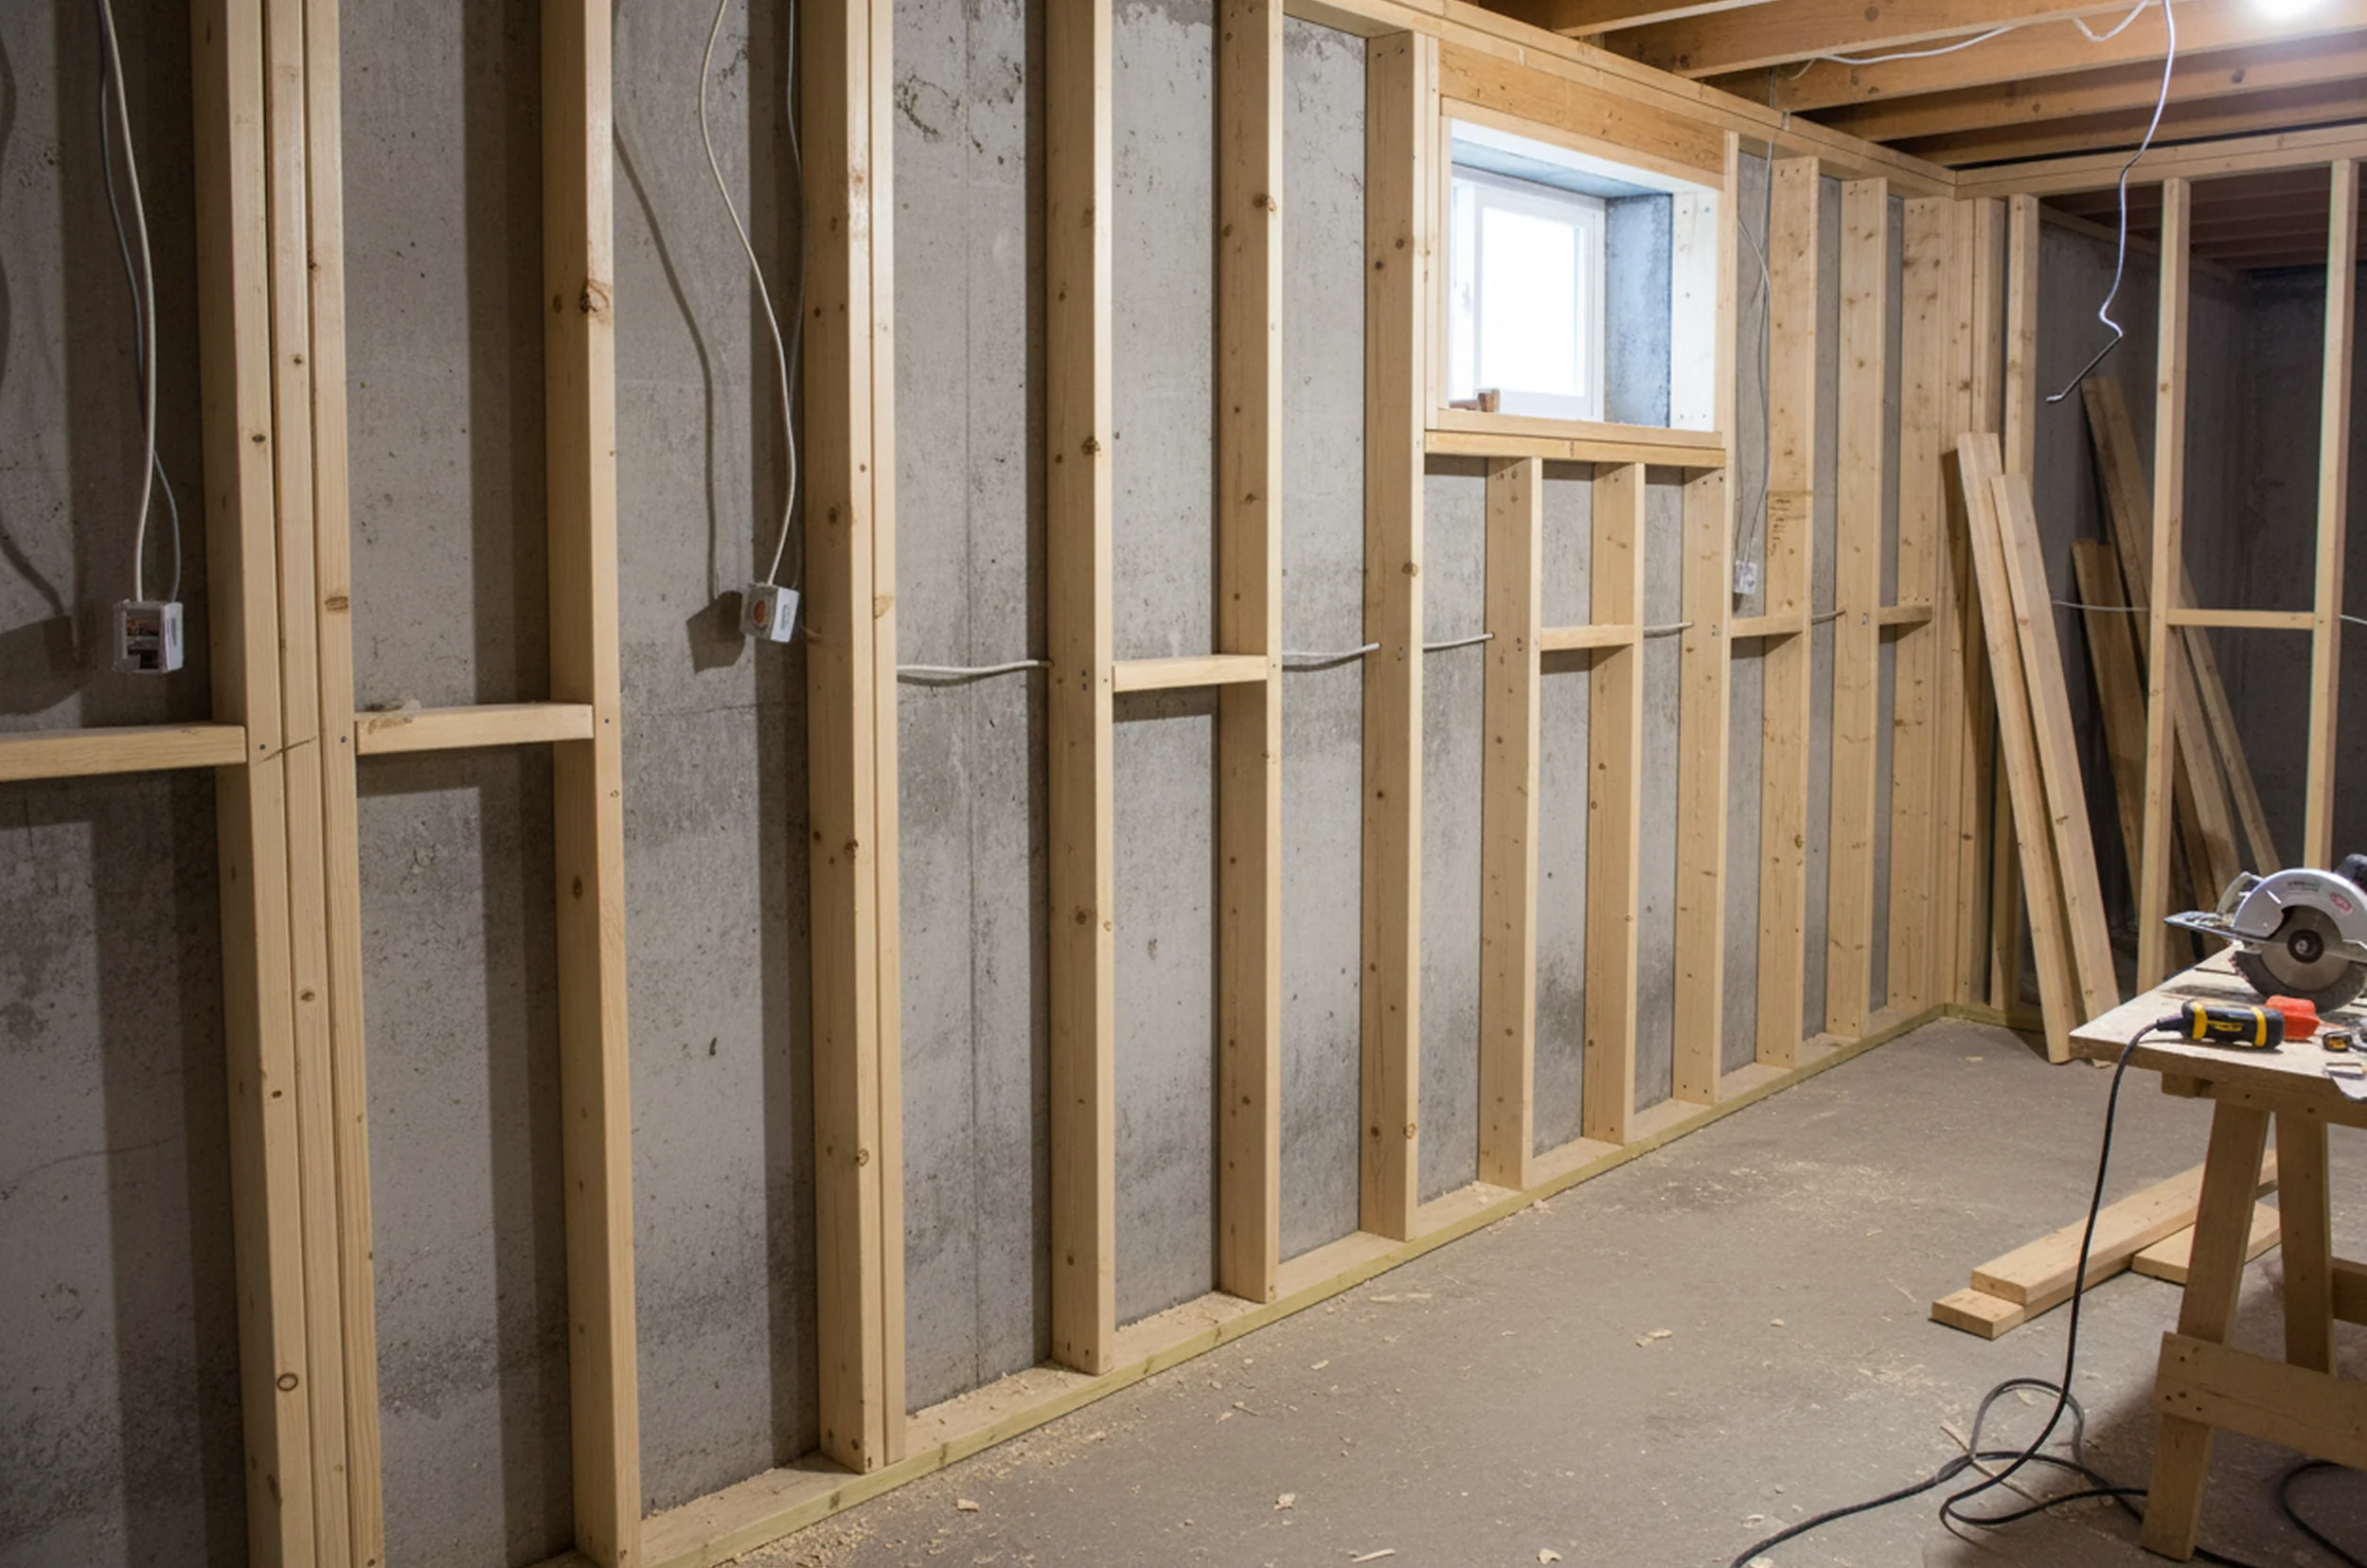
Not all framing lumber is the same. Moisture content, grading and species all affect how lumber performs over time. Green lumber — wood that hasn’t been properly dried — will shrink and twist as it dries in place. Walls built with green lumber can develop gaps at the top plate, floors can develop bounce and drywall can crack along stud lines as the wood moves.
In Ontario, framing lumber should be kiln-dried or air-dried to a moisture content below 19 percent before installation. This is standard practice but not always followed, particularly on jobs where material cost is being squeezed. We specify and source properly dried lumber on every framing construction job — it’s not a place to save money because the problems it creates aren’t visible until everything is finished.
Lumber grade matters too. Stud-grade lumber is appropriate for non-structural interior walls. Structural framing — beams, headers, floor joists — requires a higher grade rated for the loads it will carry. We’ve seen residential additions where the header over a garage door opening was built from the wrong lumber grade. It looked fine for a year. Then it started to deflect. Replacing a header after drywall and trim are installed is a half-day job that turns into a two-day job quickly.
Spacing, Layout and Why It Matters More Than It Sounds
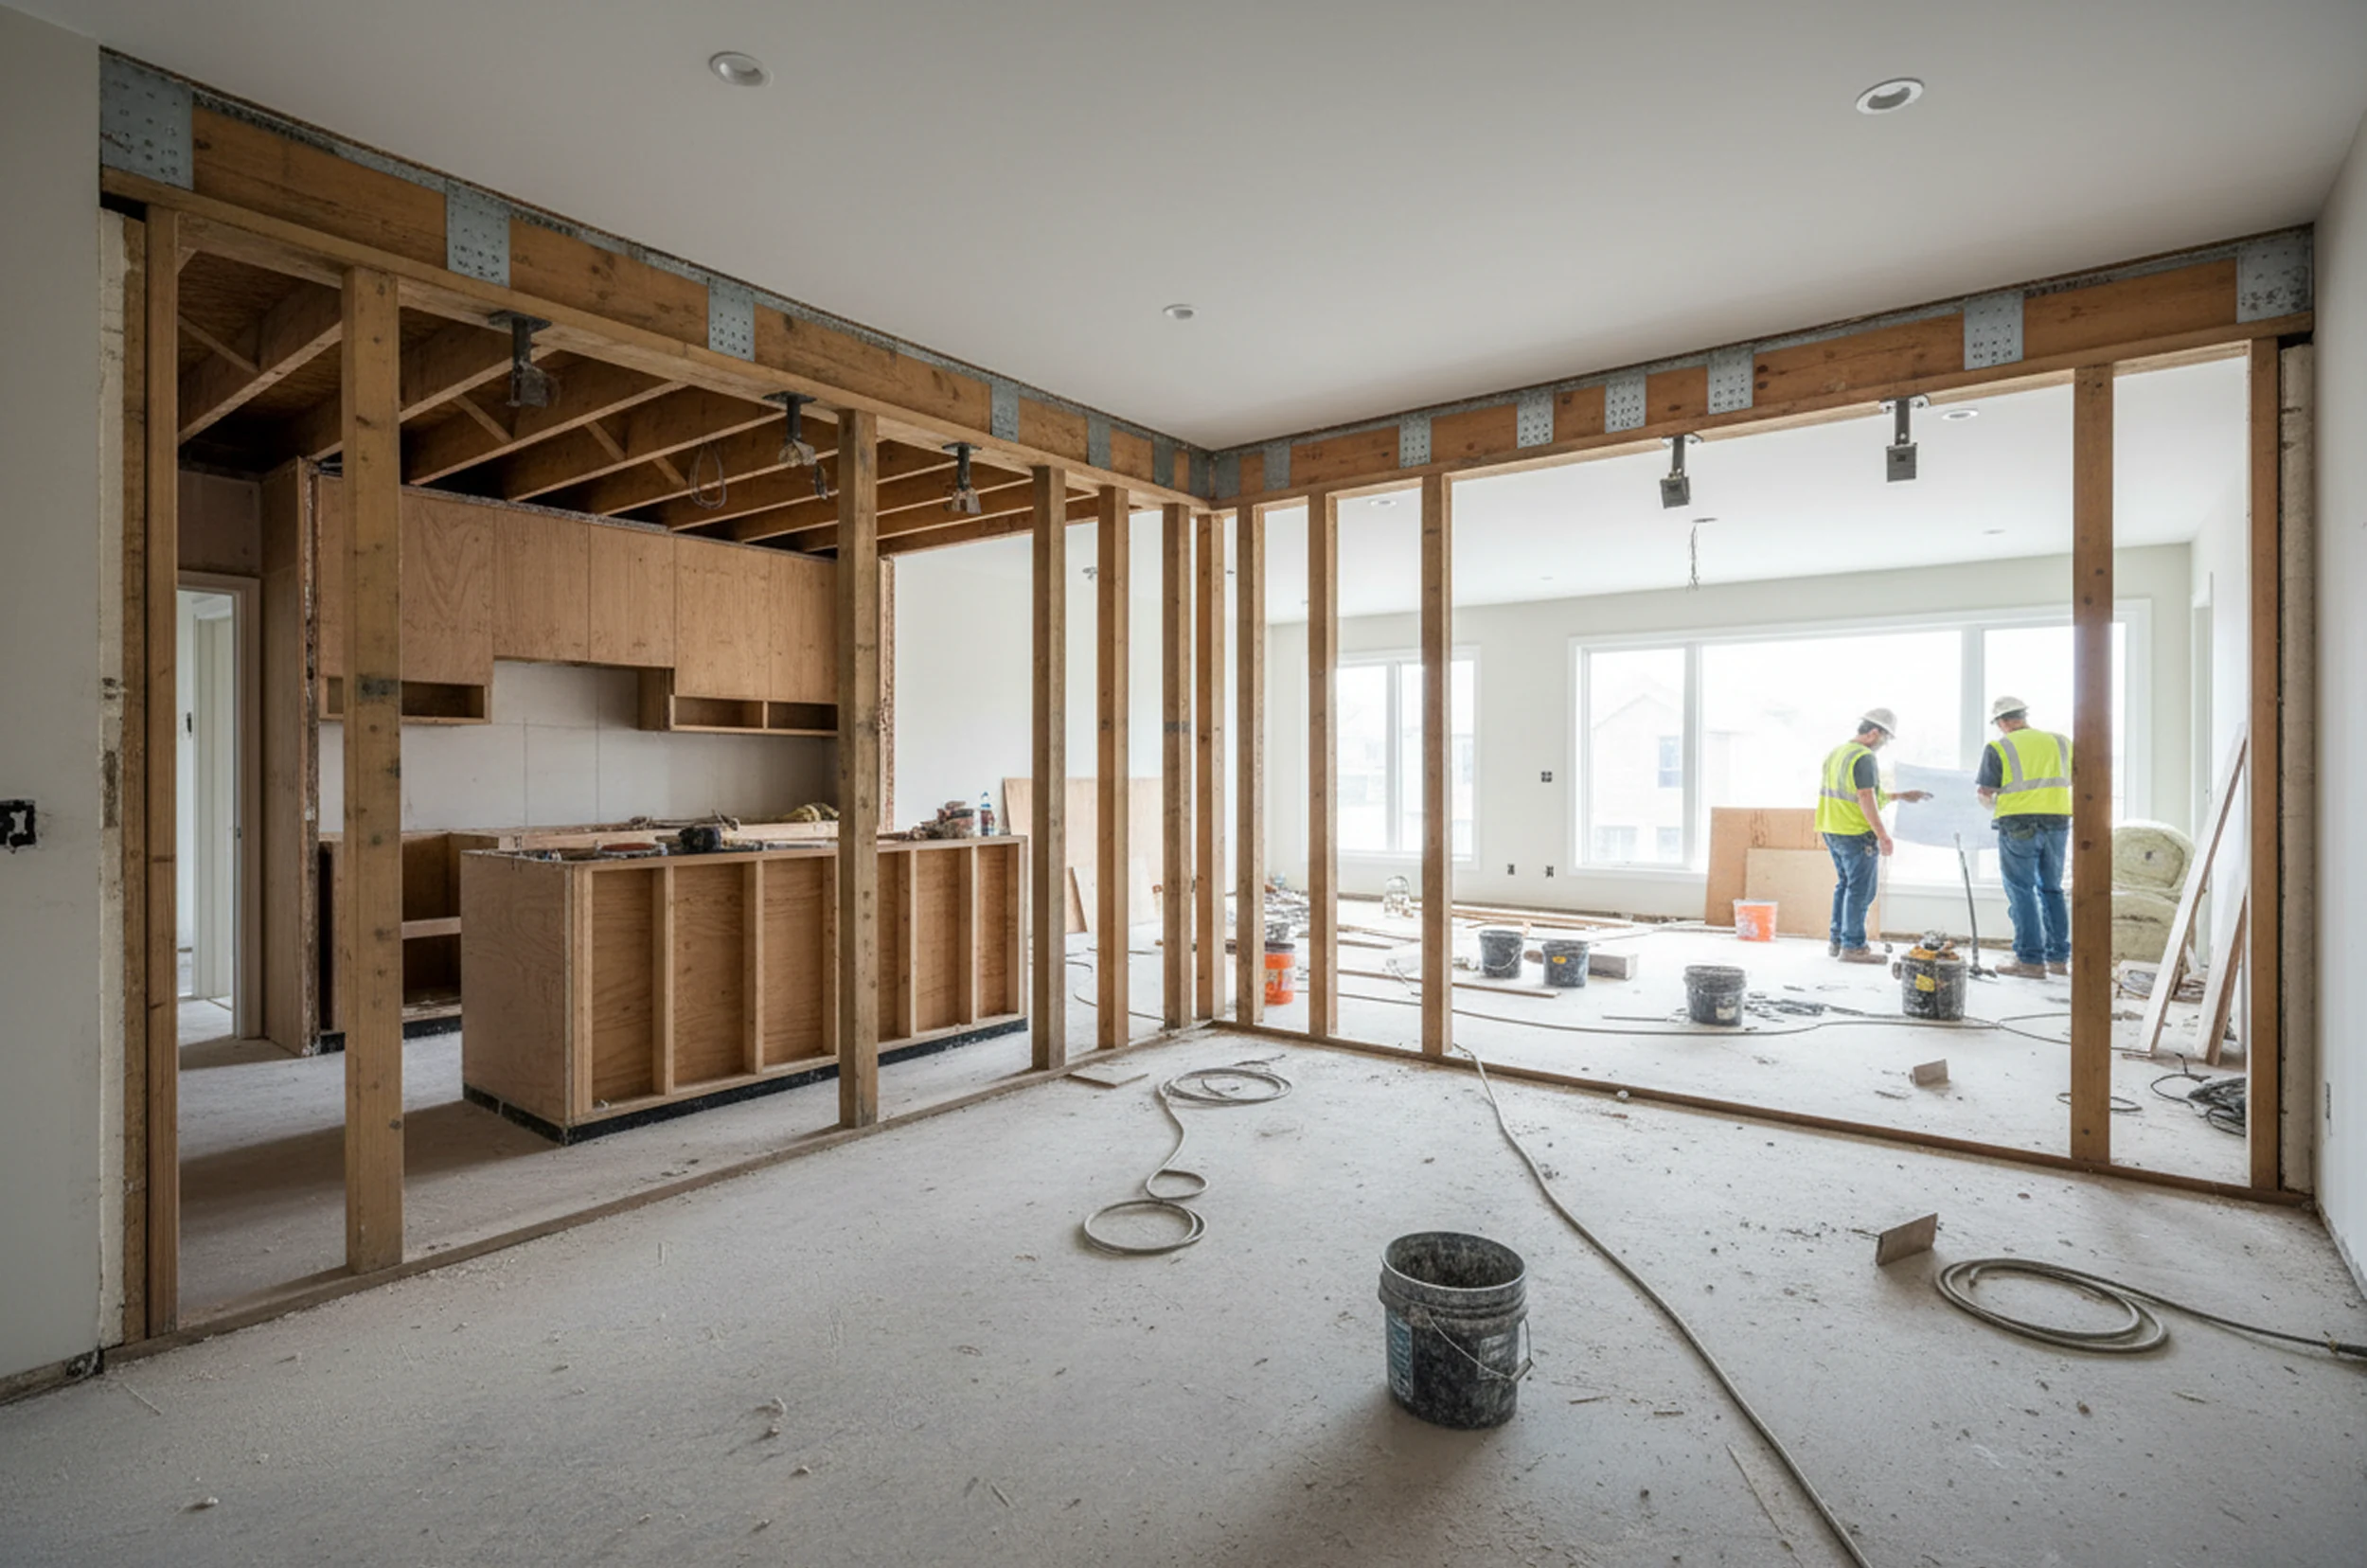
Standard stud spacing in residential construction is 16 inches on centre. That spacing isn’t arbitrary — it’s designed to work with standard sheet goods (drywall, plywood, OSB) that are manufactured in 4-foot widths, so seams always fall on a stud. It also provides the right structural spacing for most residential load conditions.
Some projects use 24-inch spacing, which is structurally acceptable in the right conditions but limits what you can do with the finish surfaces. Tile installation, for example, needs tighter framing to prevent flexing at the grout lines. Heavier wall finishes — stone cladding, thick plaster — need the closer spacing too.
What causes real problems is inconsistent spacing — studs that wander off layout because they weren’t snapped to a line, or framing that was adjusted mid-job without updating the layout. Inconsistent spacing creates headaches for every trade that follows. Drywall seams don’t land on studs. Cabinet screws miss the wood behind the wall. Tile grout cracks at random intervals. We see this regularly on older renovations and on jobs where speed was prioritized over accuracy.
Permits and Inspections – Don’t Skip This Step
Framing work that changes the structure of a home — adding walls, removing walls, building an addition, finishing a basement — typically requires a building permit in Ontario. The permit triggers inspections at key stages, including a framing inspection before walls are closed in.
We know permit applications add time and a modest cost to a project. We also know what happens when structural work gets done without them: insurance complications, problems at resale and in some cases orders to open up finished walls for inspection after the fact. We pull permits on every job that requires one. It protects the homeowner as much as it protects us.
What Renossance Does
We handle framing construction and renovation framing across Trent Hills and the surrounding area — Campbellford, Hastings, Havelock, Marmora, Norwood, Warkworth and Stirling. New basement development, wall removal and beam installation, additions, interior partitions — we do the structural work properly and pull the permits to back it up.
We’re a general contractor service, insured and bonded, with 7+ years of hands-on experience in residential construction and renovation.
If you’re planning a project that involves framing — whether you know it or not — give us a call before you start.

