Trim is the detail work. It’s the baseboards along the floor, the casing around doors and windows, the crown moulding where walls meet ceilings. It doesn’t hold anything up. It doesn’t insulate or waterproof. And yet it’s the thing that determines whether a room looks finished or just painted.
We’ve done enough interior work to know that homeowners often don’t think about trim until it’s time to install it – and then they realize how much it matters. A freshly renovated room with poor trim work looks unfinished regardless of what else was done. A straightforward room with tight, well-installed trim looks like it was built with care. The difference is visible in about three seconds.
This guide covers what good trim work actually involves, why it’s harder than it looks and what to expect when you hire someone to do it properly.
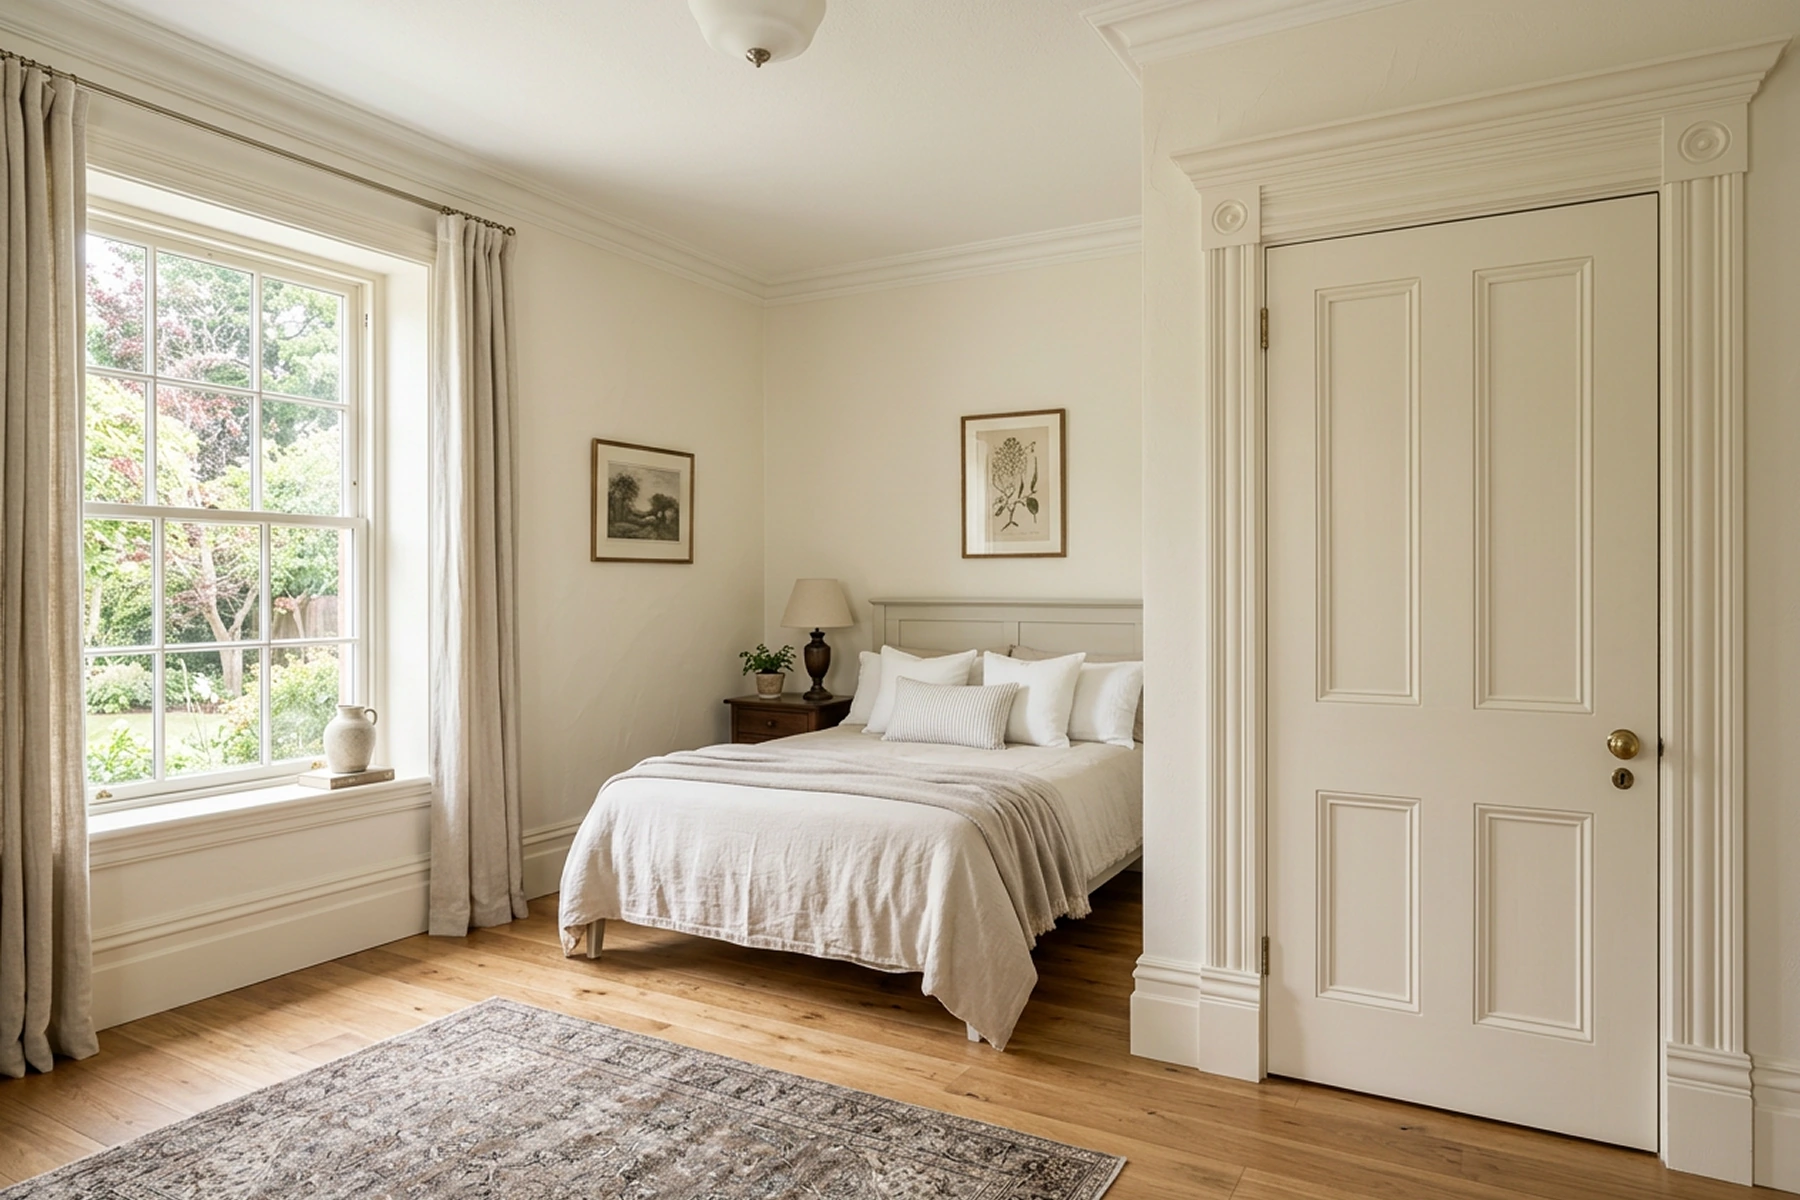
What Trim Actually Does
Trim serves a functional purpose that gets overlooked in aesthetic conversations. At its core, trim exists to cover the gaps and transitions that are unavoidable in wood-frame construction. Where a wall meets the floor, there’s a gap – flooring can’t butt tight against drywall cleanly, and even if it could, the drywall would absorb moisture from mopping and cleaning. Baseboard covers that transition. The same logic applies everywhere trim appears: it bridges the joint between two materials or surfaces that can’t be finished cleanly against each other.
That’s the practical side. The visual side is that trim also establishes the character of a room. Profile choice, height and the way trim elements relate to each other communicate a lot about the style of a space – whether it’s a clean contemporary interior with simple square profiles or a traditional room with tall base, built-up crown and detailed casing. Getting those proportions right isn’t complicated, but it requires decisions that affect how the room reads once everything is painted.
Why Trim Installation Is Harder Than It Looks
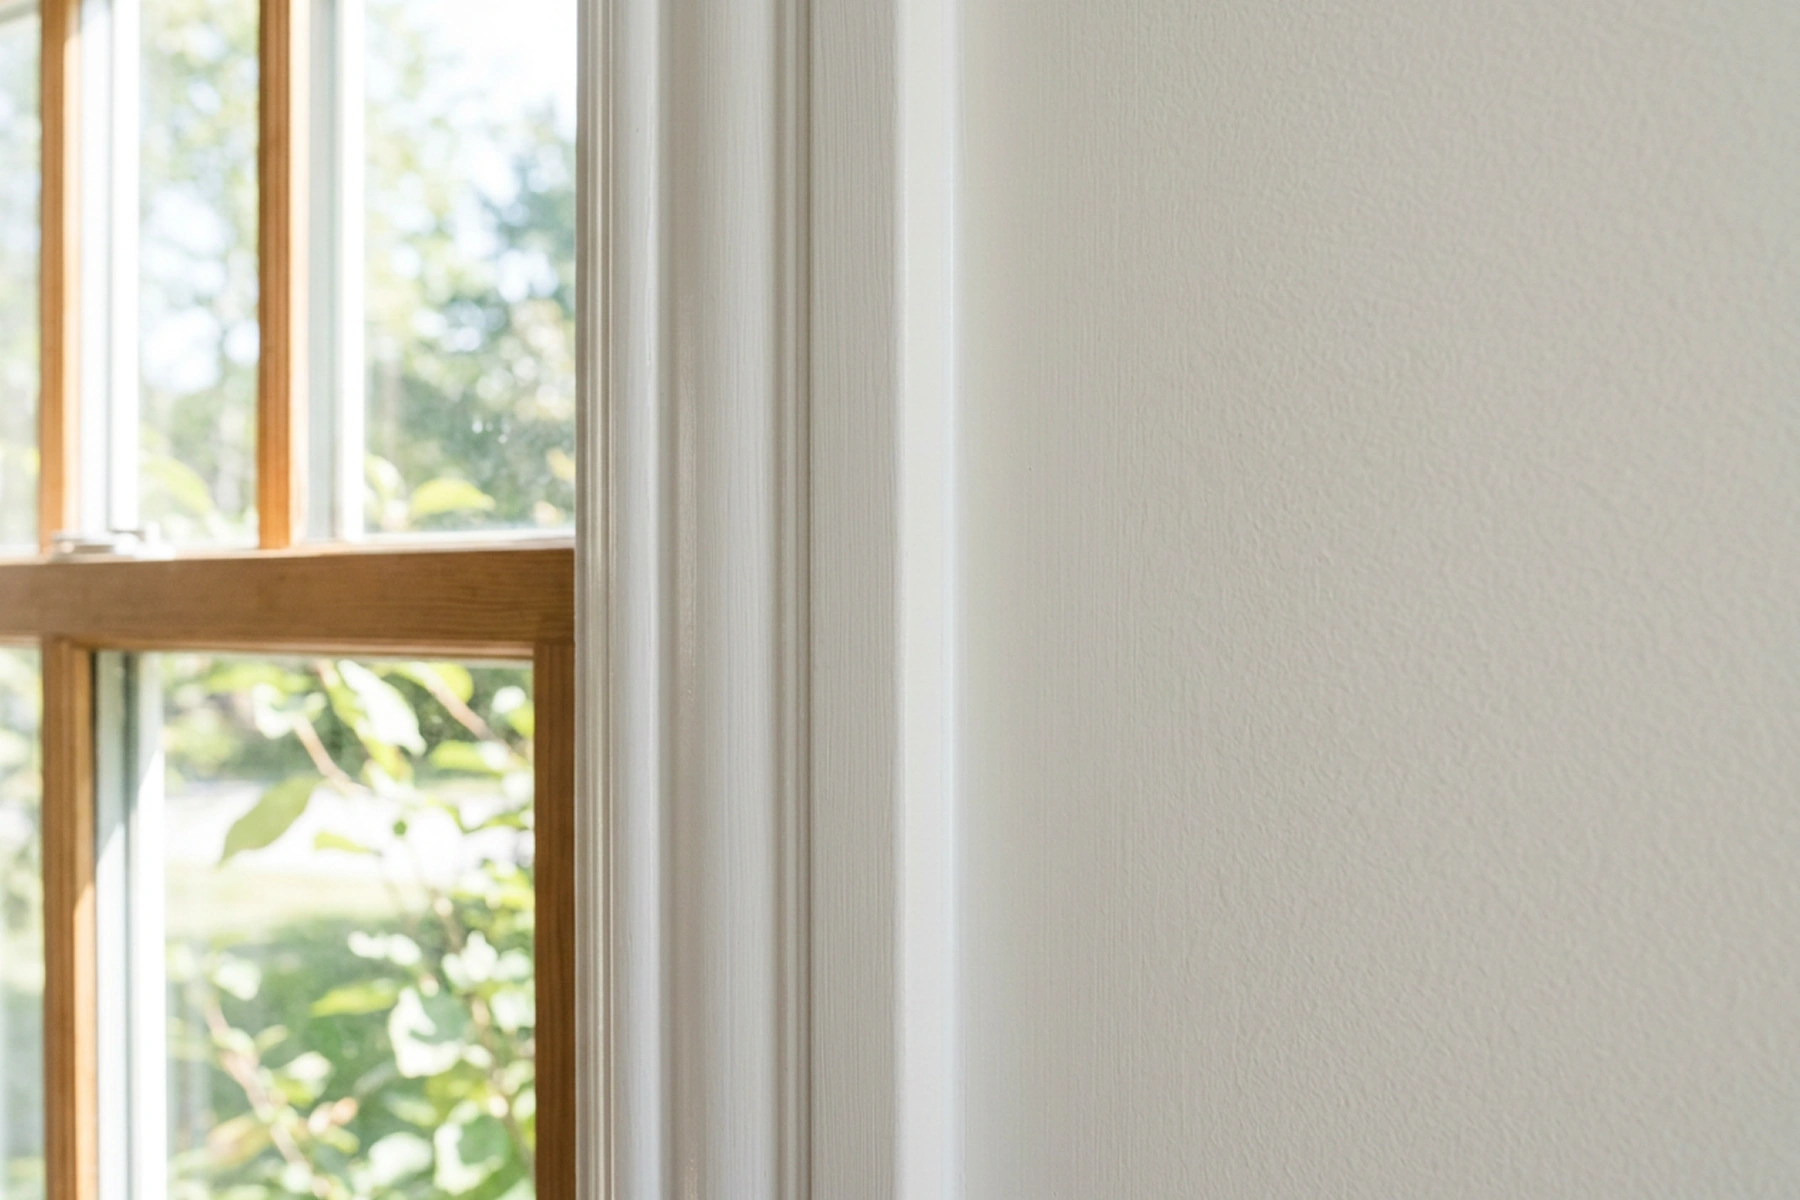
Most people assume that trim installation is a straightforward task – measure, cut, nail, caulk, paint. In a room with perfectly square corners, level floors and plumb walls, that’s roughly accurate. Almost no room has all three.
Walls in residential construction drift. A wall that measures 90 degrees at the bottom often opens to 91 or closes to 89 at the top. Floors slope. Corners that look square are frequently 88 or 92 degrees, which means a 45-degree miter cut won’t close tightly. These are not failures of construction – they’re the normal variation of wood-frame buildings, and they’re more pronounced in older homes where decades of settling have had time to work.
Good trim installation accounts for all of this. Corners get back-cut to compensate for walls that aren’t plumb. Miters get adjusted degree by degree until they close. Gaps between trim and wall get caulked precisely enough that paint makes them disappear. Done well, none of the underlying imperfection is visible in the finished product. Done carelessly, every gap and open miter is highlighted once the paint goes on.
We’ve walked into renovation projects where the previous trim work had open miters at every outside corner and gaps at the baseboard you could see from the doorway. None of it was catastrophic – but it made a well-painted, well-floored room look like a budget job. Trim is where the quality of a renovation is most visible because it’s at eye level, at the perimeter of every surface and in every transition.
Types of Trim and Where Each One Goes
Understanding the different elements of a trim package helps when you’re planning a renovation or evaluating what a quote actually covers.
Baseboard
Baseboard runs along the bottom of every wall where it meets the floor. It’s the most installed trim element and the one that most affects the overall feel of a room. Taller baseboard – 4 to 5 inches – reads as more substantial and traditional. Low-profile contemporary baseboard at 2.5 to 3 inches reads as modern and clean. Profile complexity – whether the baseboard has a simple square edge or a more detailed shaped profile – also signals the room’s style.
Door & Window Casing
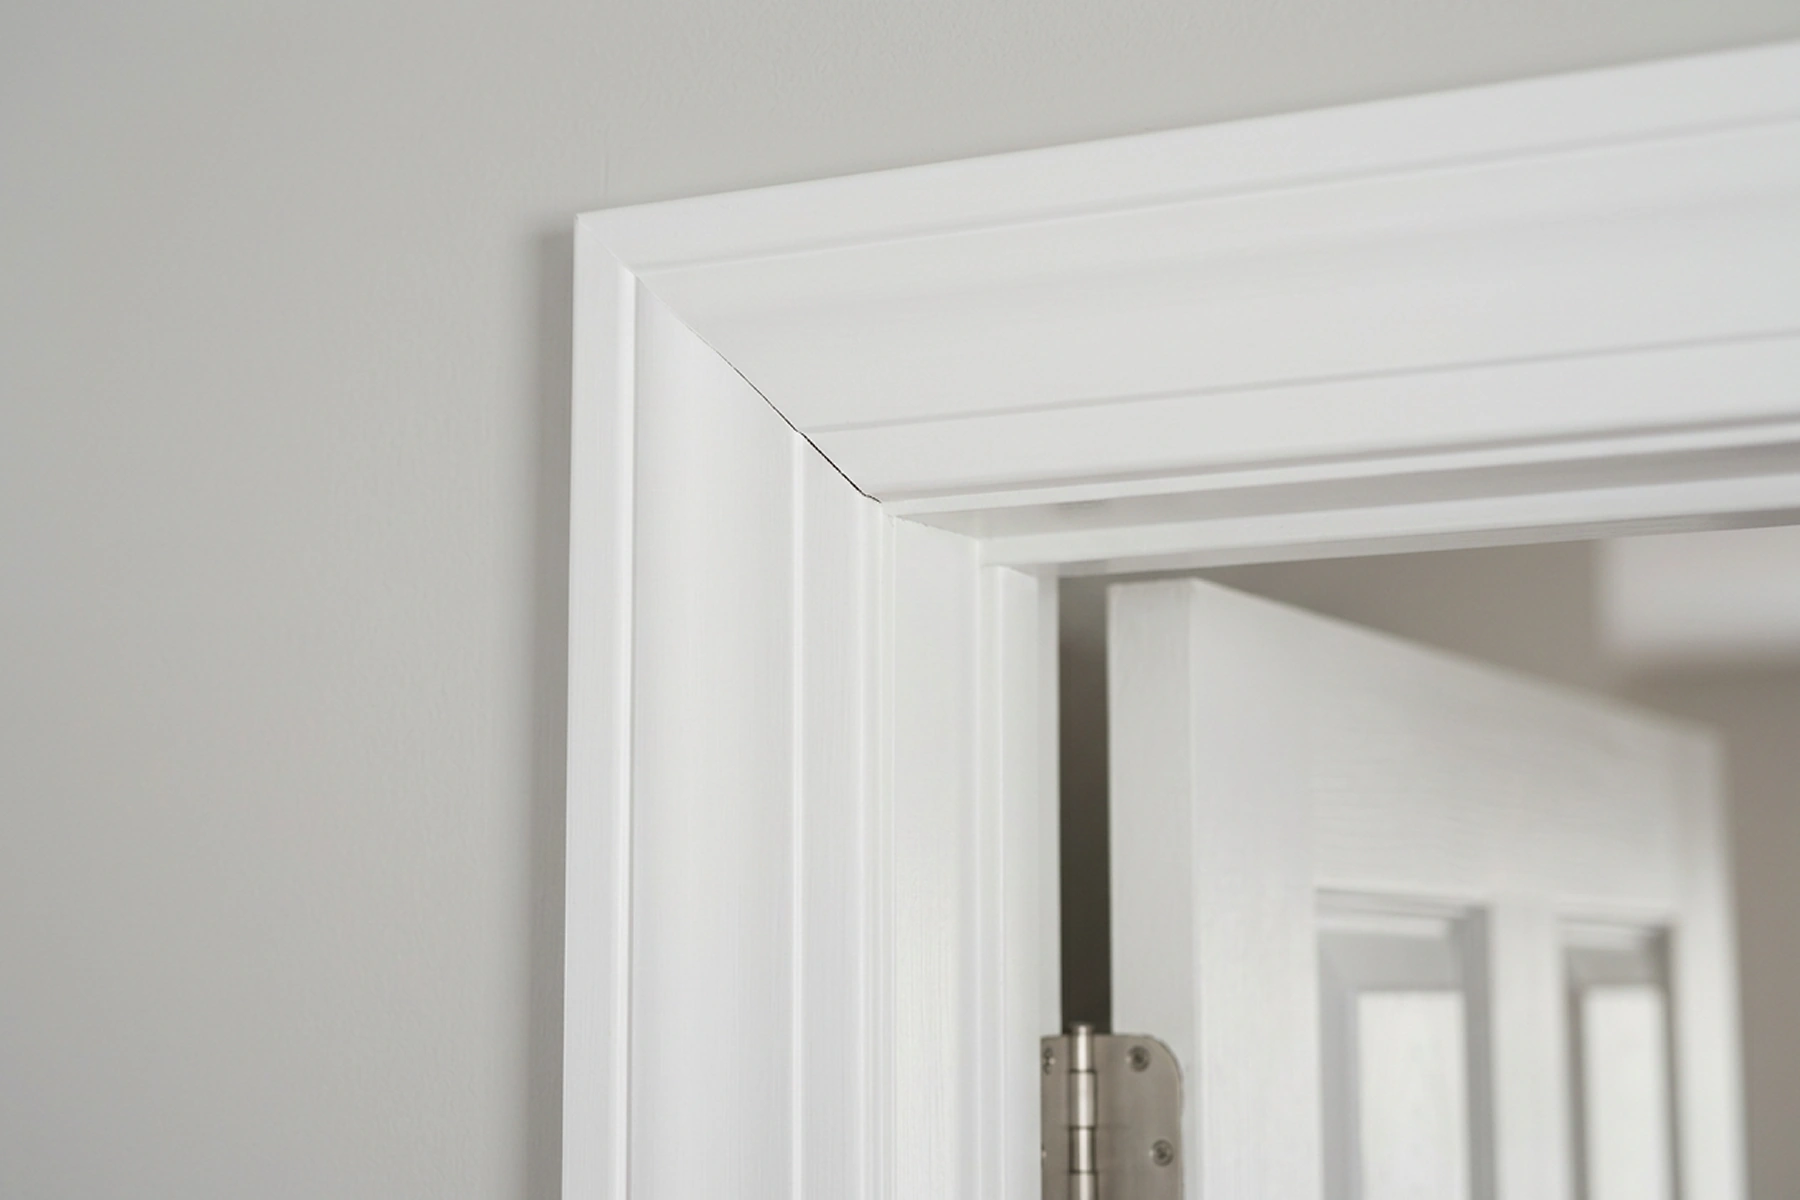
Casing surrounds every door and window opening. It covers the gap between the drywall and the door or window frame and is one of the most visible trim elements in a room because it appears at eye level. Casing that isn’t cut cleanly at the corners or that sits proud of the wall surface on one side is immediately noticeable.
Crown Moulding
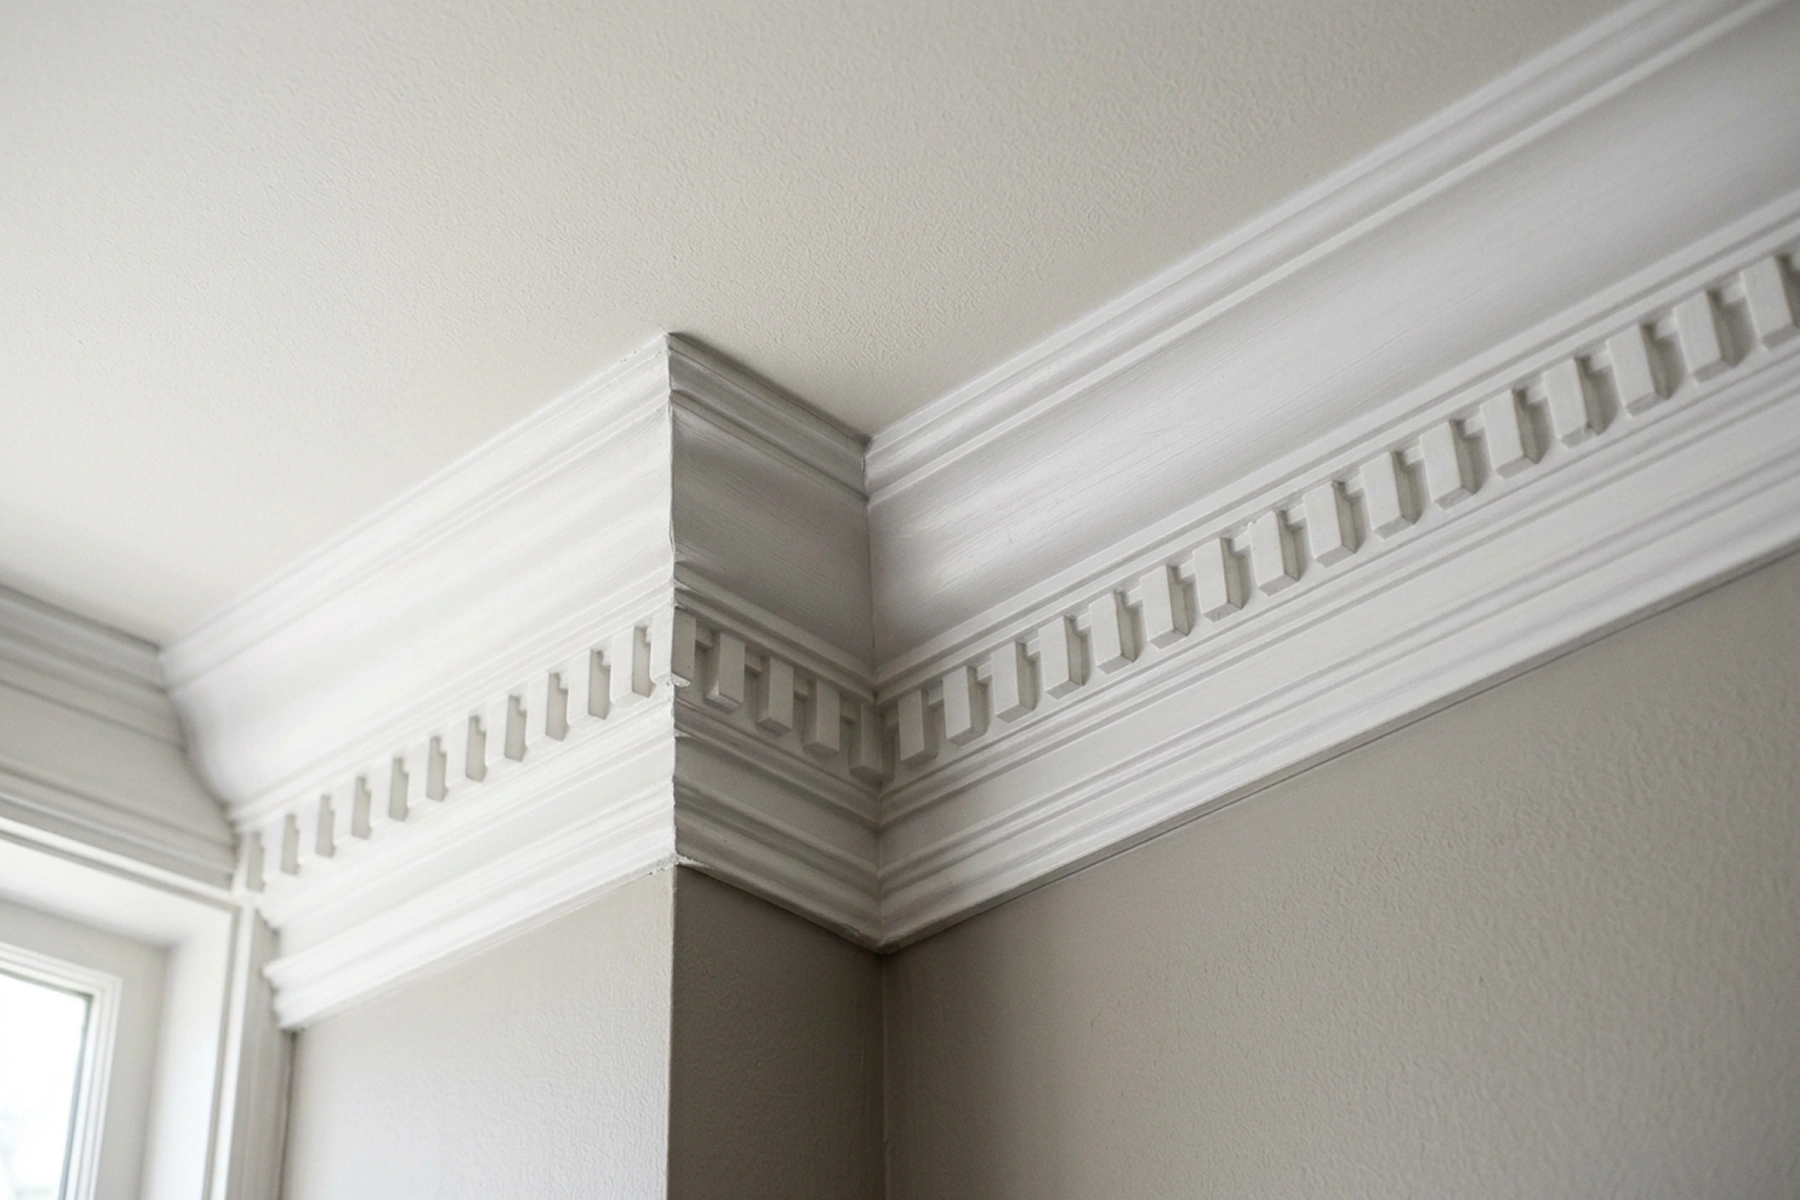
Crown runs at the transition between wall and ceiling. It’s the most technically demanding trim element to install because it sits at a compound angle – it’s not flat against either the wall or the ceiling. Getting the inside and outside corners right requires cutting compound miters that account for both the spring angle of the moulding and the angle of the corner itself. In rooms that aren’t perfectly square, every corner needs to be individually fit.
Shoe Moulding & Quarter Round
These small-profile pieces run at the base of baseboard where it meets the floor. They cover the gap between the baseboard and the flooring – necessary when hardwood or laminate is installed as a floating floor, since the floor needs room to move. A detail that looks minor but reads clearly when it’s done well versus when it isn’t.
Paint and Caulk – The Final 20 Percent
Trim installation doesn’t end when the last nail goes in. The quality of the finish – caulking and painting – determines how the installed trim actually looks.
Every joint between trim and wall gets caulked before painting. This fills any minor gaps, blends the transition and gives paint a clean line to follow. Caulk applied carelessly – too much, unevenly tooled, not cleaned up at the edges – shows under paint. Caulk applied correctly disappears entirely.
Paint on trim is typically a semi-gloss or gloss finish for durability and cleanability. Getting a clean line between trim paint and wall paint – particularly where they meet at the top of baseboard or around casing – requires careful cutting in or careful taping. Sloppy lines here undo careful installation work.
Nail holes are another detail that separates a careful job from a quick one. Every nail used to fasten trim needs to be set below the surface and filled before painting. Filled holes that are painted correctly are invisible. Holes that were skipped or filled poorly show as small craters under gloss paint – more visible on trim than anywhere else in the room because of the sheen level.
We do the full scope – installation, caulking and finish painting where it’s part of the project. The trim work isn’t finished until it’s painted and the painted result is what the homeowner actually lives with.

What to Expect From a Trim Project
Trim installation is relatively non-disruptive compared to structural renovation work. There’s no demo, no drywall dust and no extended dry times to work around. A standard room – baseboard, door casing, window casing – can typically be trimmed in a day by an experienced installer. Crown moulding adds time, particularly in rooms with multiple corners or ceiling features.
The sequence matters. Flooring should be installed before baseboard. Doors and windows should be framed and finished before casing goes on. If trim is going in as part of a larger renovation, it comes near the end of the sequence – after drywall, painting of walls and ceiling and flooring. Putting trim in early just means it gets damaged during the rest of the job.
A realistic expectation for trim work: the result should look like the trim was always part of the room. No visible gaps, no open miters, no caulk lines that draw the eye. If you notice the trim, something went wrong. If the room just looks right, the work was done properly.
What Renossance Does
We handle trim installation across Trent Hills and the surrounding area – Campbellford, Hastings, Havelock, Marmora, Norwood, Warkworth and Stirling. Baseboard, door and window casing, crown moulding and full interior finish carpentry – as a standalone scope or as part of a larger renovation.
We’re a general contractor service, insured and bonded, with 7+ years of hands-on experience in interior finishing and custom carpentry. The detail work is where we started and it’s still where we spend a lot of our time.
About Renossance Renossance is Trent Hills’ trusted general contractor, serving Campbellford and surrounding communities within a 25–30km radius. We specialize in interior finish carpentry, trim installation and full home renovations — insured, bonded and hands-on from day one.

